Monday, February 28, 2022

Classic Tulips - Stampin' Up! Flowering Tulips

   I've got a bright and sunshine-y card for this Monday afternoon!  I played along with the Alphabet Challenge and they are on the letter 'X' right now and the challenge is 'Xanthic' which means relating to the color yellow or yellowish. 

  Well I can certainly do yellow flowers this time of year!
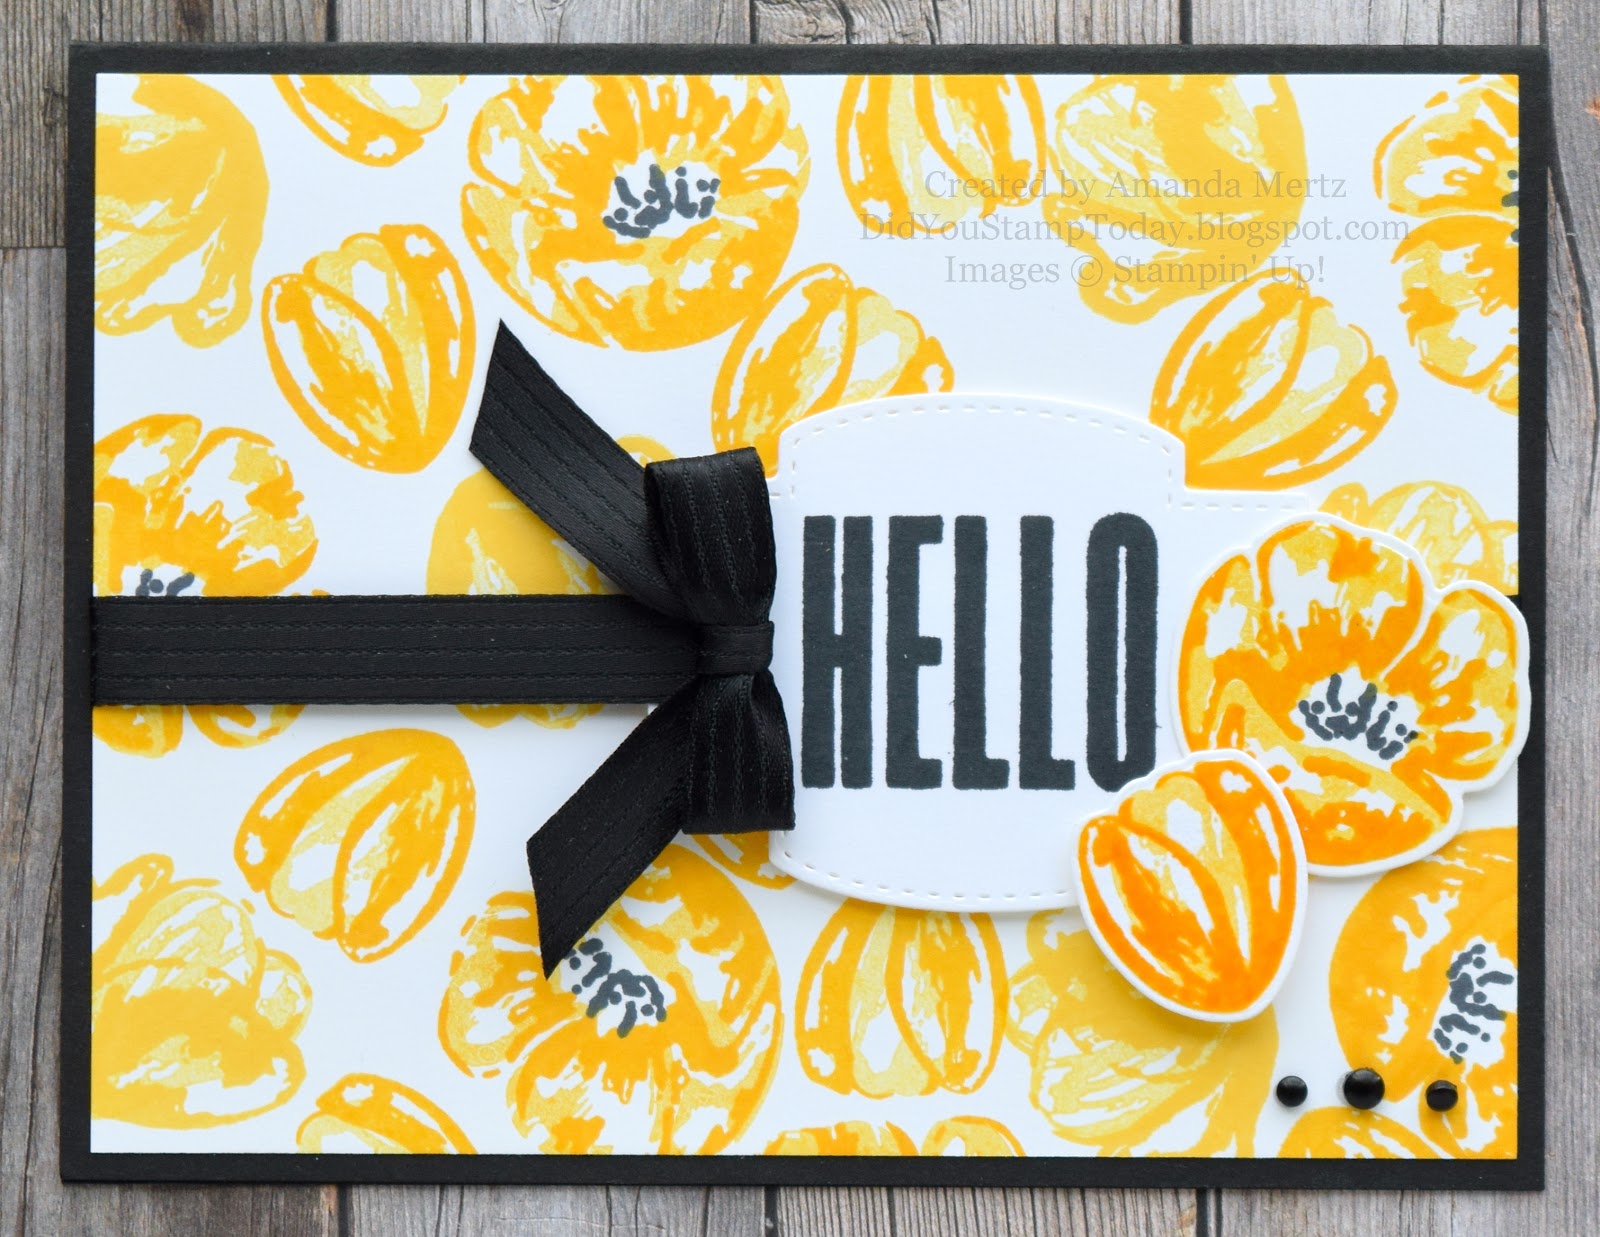
  A classic yellow and black color combo should wake up your eyeballs if you're feeling a bit of an afternoon nap coming on!

  I used a Basic Black base and then stamped the back ground using several of the stamps from the Flowering Tulips set and Daffodil Delight and Mango Melody ink and some stamping off for lighter hues.  

 A big bold sentiment was the only thing that could stand up to all this brightness so I stamped the big hello from Biggest Wish in Memento black and cut it out with a Stitched So Sweetly label shape.  I threaded some retired black sating ribbon through some slits on the side of the label and then added a fork bow (Fork bow tutorial here).

  I stamped 2 more tulips and added clear embossing powder to the top layer for some shine and texture.  I cut them out and popped them on dimensionals to the side of the label.  A few black classic matte dots in the corner are the finishing touch.

  Thanks for looking!  Did you stamp today?

Stamps: Flowering Tulips, Biggest Wish

Ink: Memento Black, Daffodil Delight, Mango Melody

Paper: Basic Black, Basic White

Accessories: Tulip Dies, Stitched So Sweetly dies, dimensionals, Classic Matte dots, black satin ribbon (retired)

Sunday, February 27, 2022

Spring Blubirds - Stampin' Up! Free As A Bird

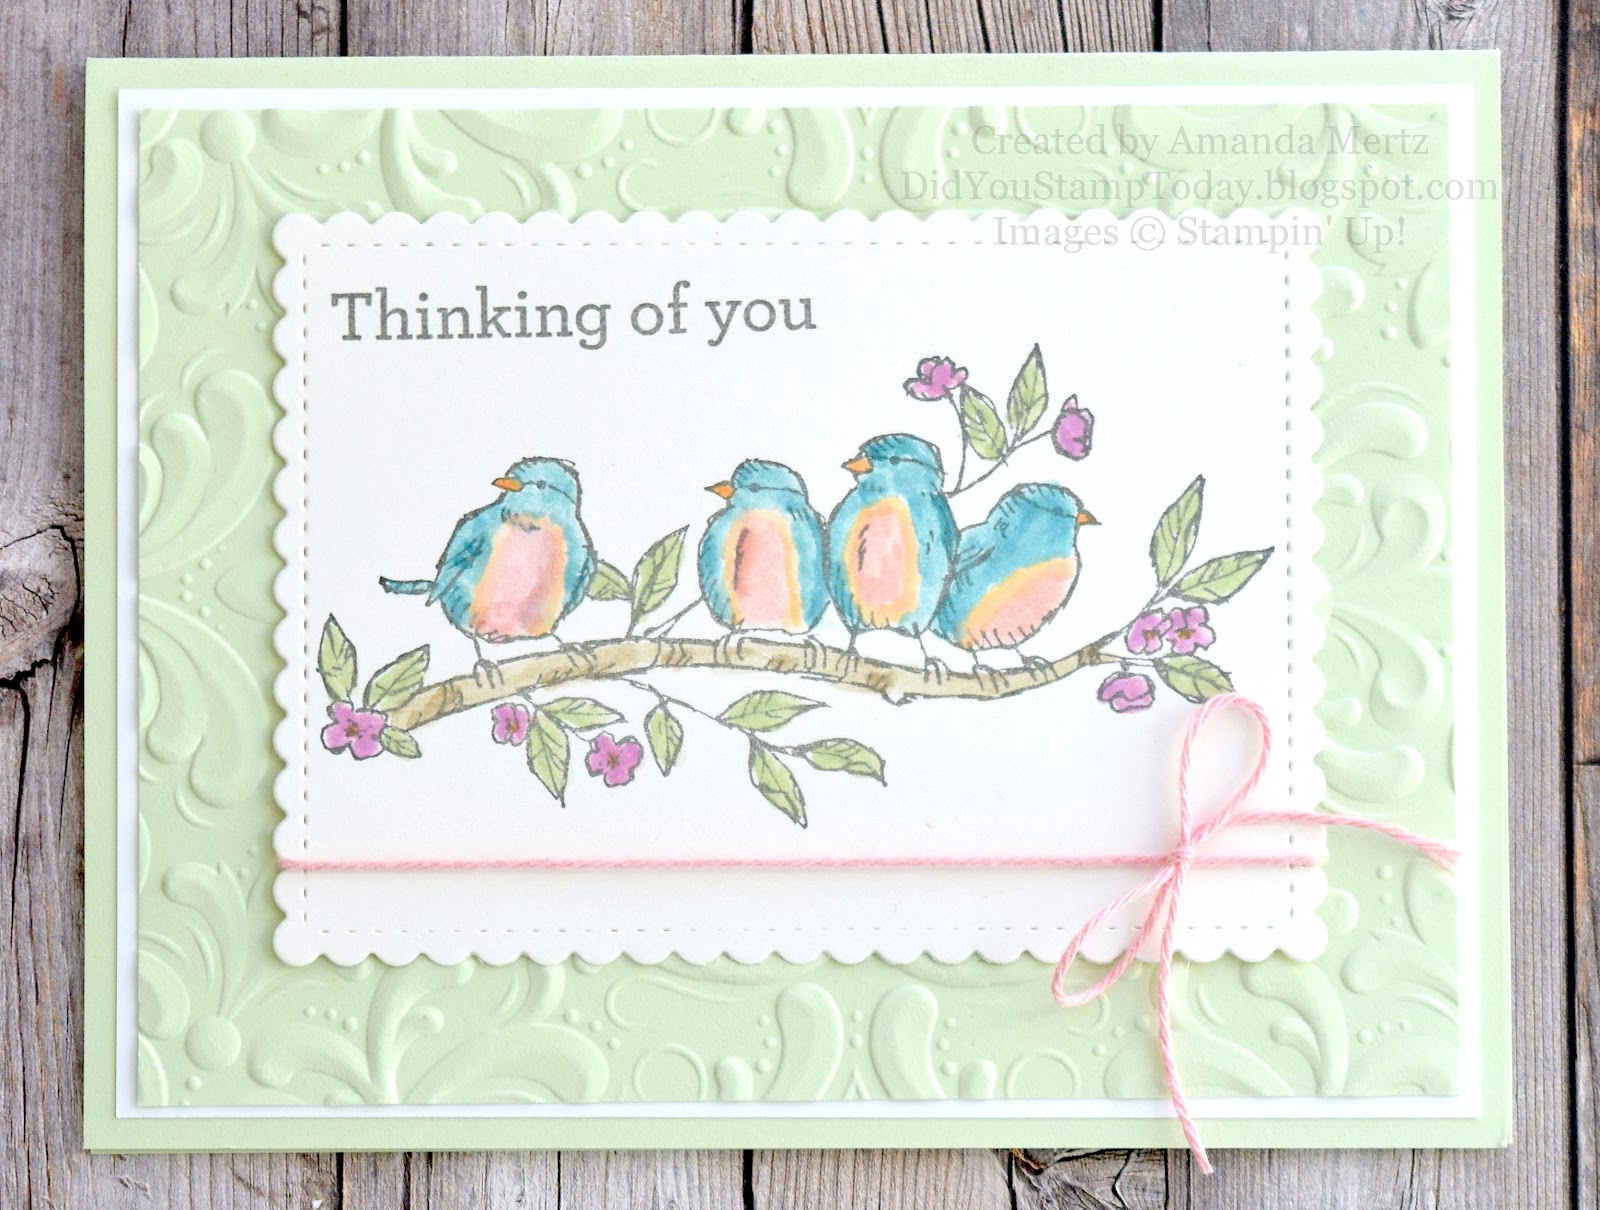
   Every spring we have a blue bird family take up ownership of the bluebird box we have up in our backyard.  We have a camera inside the box so we can watch all the comings and goings and see the eggs hatch and the baby birds grow and fledge. It's a fun thing to look forward to each year and really signals the start of spring for us.  We checked the box yesterday and there is the beginnings of a nest so I was inspired to make a card with some bluebirds on it.

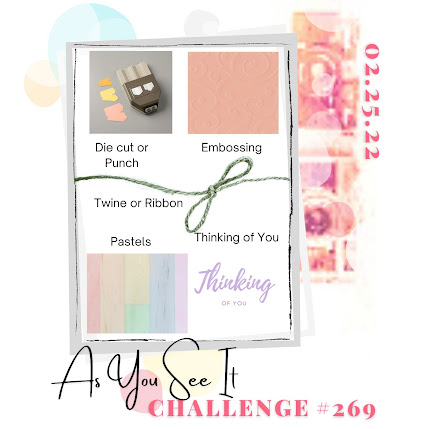
  I used the As You See It Challenge for all of the elements on the card.  They have a design recipe which calls for pastel colors, twine or ribbon, embossing, and die cut or punch along with a thinking of you sentiment.  These items are perfect for a bluebird card!


  I pulled out a bunch of pastel colors and got to work.  The card base is Soft Sea Foam then a layer of Basic White, then another layer of Soft Sea Foam embossed with the Parisian Flourish embossing folder.

  Next I stamped in Basic Gray the birds from Free As A Bird onto Shimmery White cardstock.  I cut a sweet scalloped rectangle with the Stitched So Sweetly dies.  I colored the images using a blender pen and ink pads.

  I added a Blushing Bride twine bow and a sentiment also in Basic Gray.

  I loved working with all of these elements for a spring inspired card.  Now if only the weather would get with the program and warm up a bit!

  Thanks for looking!  Did you stamp today?

Stamps: Free As A Bird, Beauty of Friendship (sentiment)

Ink: Basic Gray, Soft Sea Foam, Crumb Cake, Fresh Freesia, Balmy Blue, Blushing Bride, Pale Papaya

Paper: Soft Sea Foam, Basic White, Shimmery White

Accessories: Parisian Flourish embossing folder, Stitched So Sweetly dies, Blushing Bride baker's twine 


Saturday, February 26, 2022

Party Time - Stampin' Up! Awesome Otters

   Only a few days left to take advantage of the Sale-A-Bration freebies!  Monday is the last day to order $50 (or more!) and earn free stamps and/or designer series papers.  Don't miss out!  Place your order soon!  My store link is in the sidebar if you are looking for a Stampin' Up! Demonstrator.

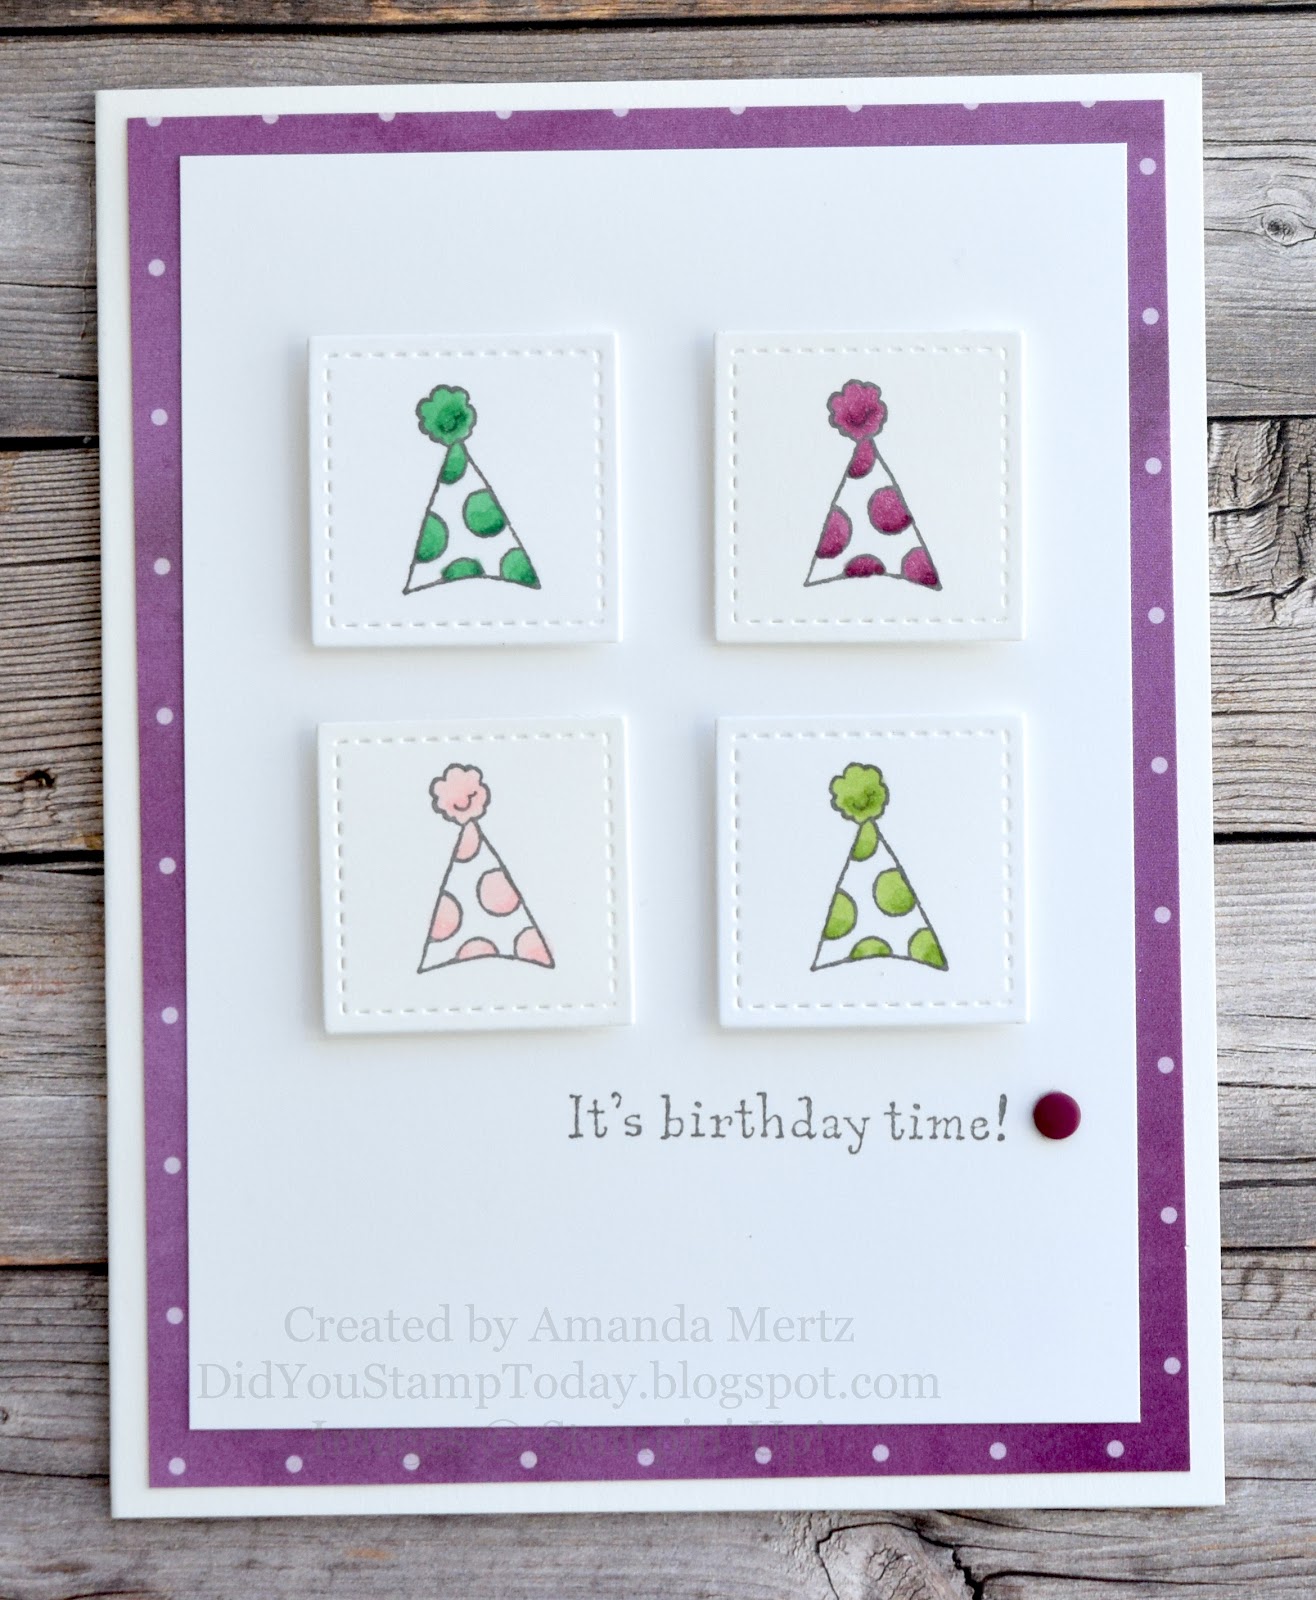
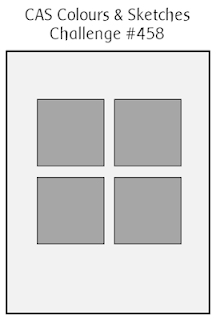
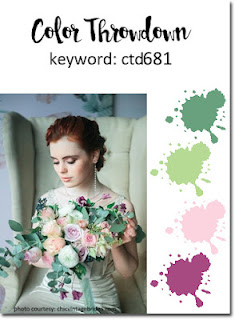
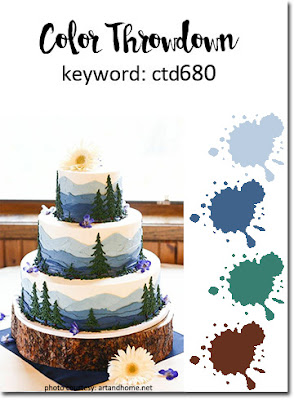
  I'm using one of the free stamp sets; Awesome Otters on my card today.  While the otters are super cute I decided to just use the party hat today.  I combined a sketch challenge and a color challenge.  The layout comes from CAS Colours & Sketches and the fun colors from Color Throwdown.  


  I have to tell you this color combo really threw me for a loop.  I must have tried 10 different green combinations to match the challenge graphic and I am still not quite satisfied that any of them were the right shade!  This was as close as I could get I guess!  Either way I have fun with both the colors and layout.  A four square layout is always perfect to show off a smaller stamp and there is something so pleasing about the nice crisp balance of a repeated image.

  I just stamped the party hats in Basic Gray then colored them with Blends markers and cut them out with a stitched square die.  Popped them up with dimensionals, added a sentiment and candy dot and then layered it all over some Rich Razzleberry patterned paper.

  Thanks for looking!  Did you stamp today?

Stamps: Awesome Otters

Ink: Basic Gray

Blends: Granny Apple Green light & dark, SU1000, Flirty Flamingo light, Call Me Clover light & dark (retired), Rich Razzleberry light & dark (retired)

Paper: Basic White thick, Basic White, Peaceful Poppies DSP (retired)

Accessories: Stitched Shapes dies (retired), dimensionals, candy dot (retired)


Friday, February 25, 2022

Amazing Butterfly Thanks - Stampin' Up! Amazing Silhouettes

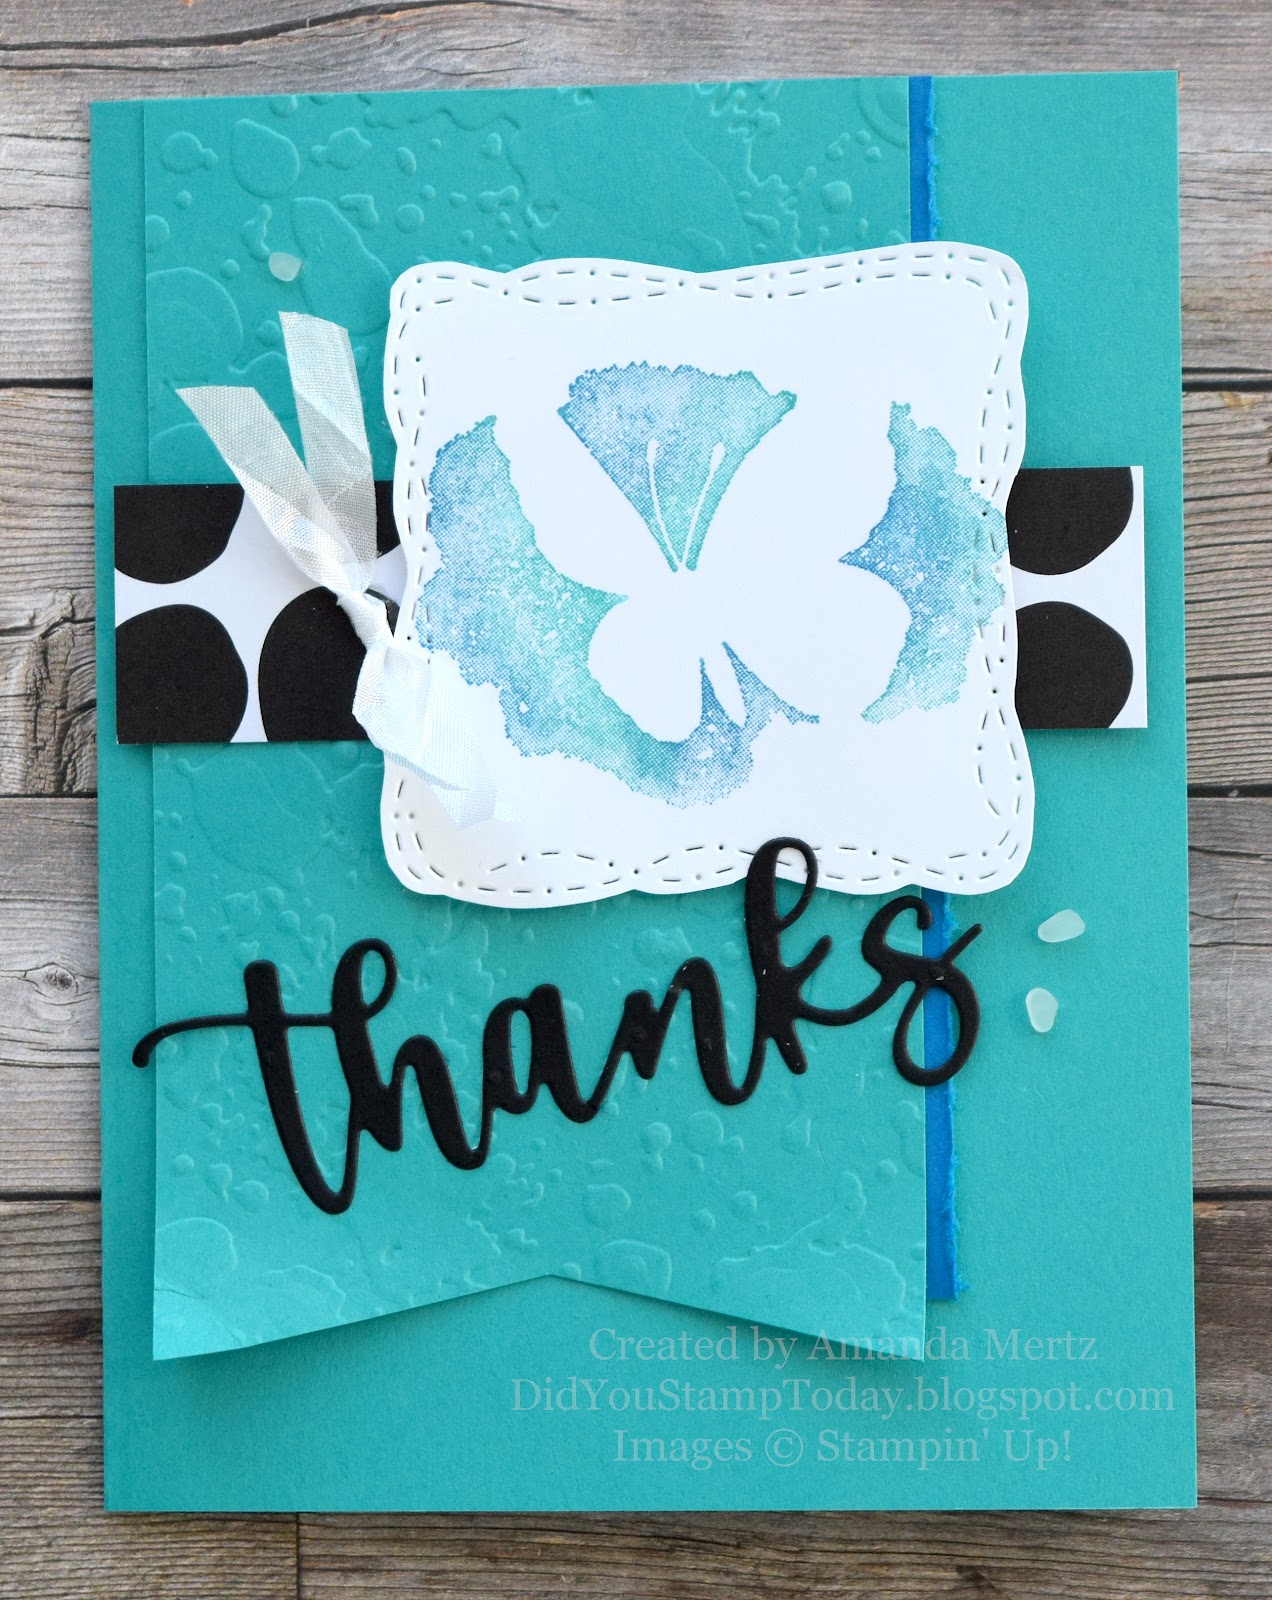
   Today's card is another one that my stampers made at my last class.  I wanted to show off how cool the Amazing Silhouettes stamp set looks when you daub multiple colors onto the stamp.  I decided the butterfly would look cool with some bold colors and designed the card around using Bermuda Bay and Pacific Point.  I like Pacific Point but for some reason don't reach for it very often but I love how it works with the BB and pops of black!


  The card starts with a Bermuda Bay base and then an embossed flag with the Stripes & Splatters embossing folder.  We added a roughed up piece of Pacific Point along one side.

  A piece of the All Together DSP goes across the middle and the stamped butterfly with Stitched with Whimsy hand trimmed details gets popped on dimensionals.

  A Basic Black sentiment is cut with the Amazing Thanks dies and layered at the bottom of the flagged piece.

  Some white crinkled seam binding ribbon accents the side of the butterfly and a few Faux Sea Glass shapes brings your eye diagonally down the card to the sentiment.

  Thanks for looking!  Did you stamp today?

Stamps: Amazing Silhouettes

Ink: Bermuda Bay, Pacific Point

Paper: Bermuda Bay, Pacific Point, Basic White, Basic Black, All Together DSP

Accessories: Stripes and Splatters embossing folder, Stitched with Whimsy dies, Amazing Thanks dies, Faux Sea Glass, Crinkled Seam Binding ribbon, dimensionals


Thursday, February 24, 2022

New Horizons Triptych - Stampin' Up! On the Horizon

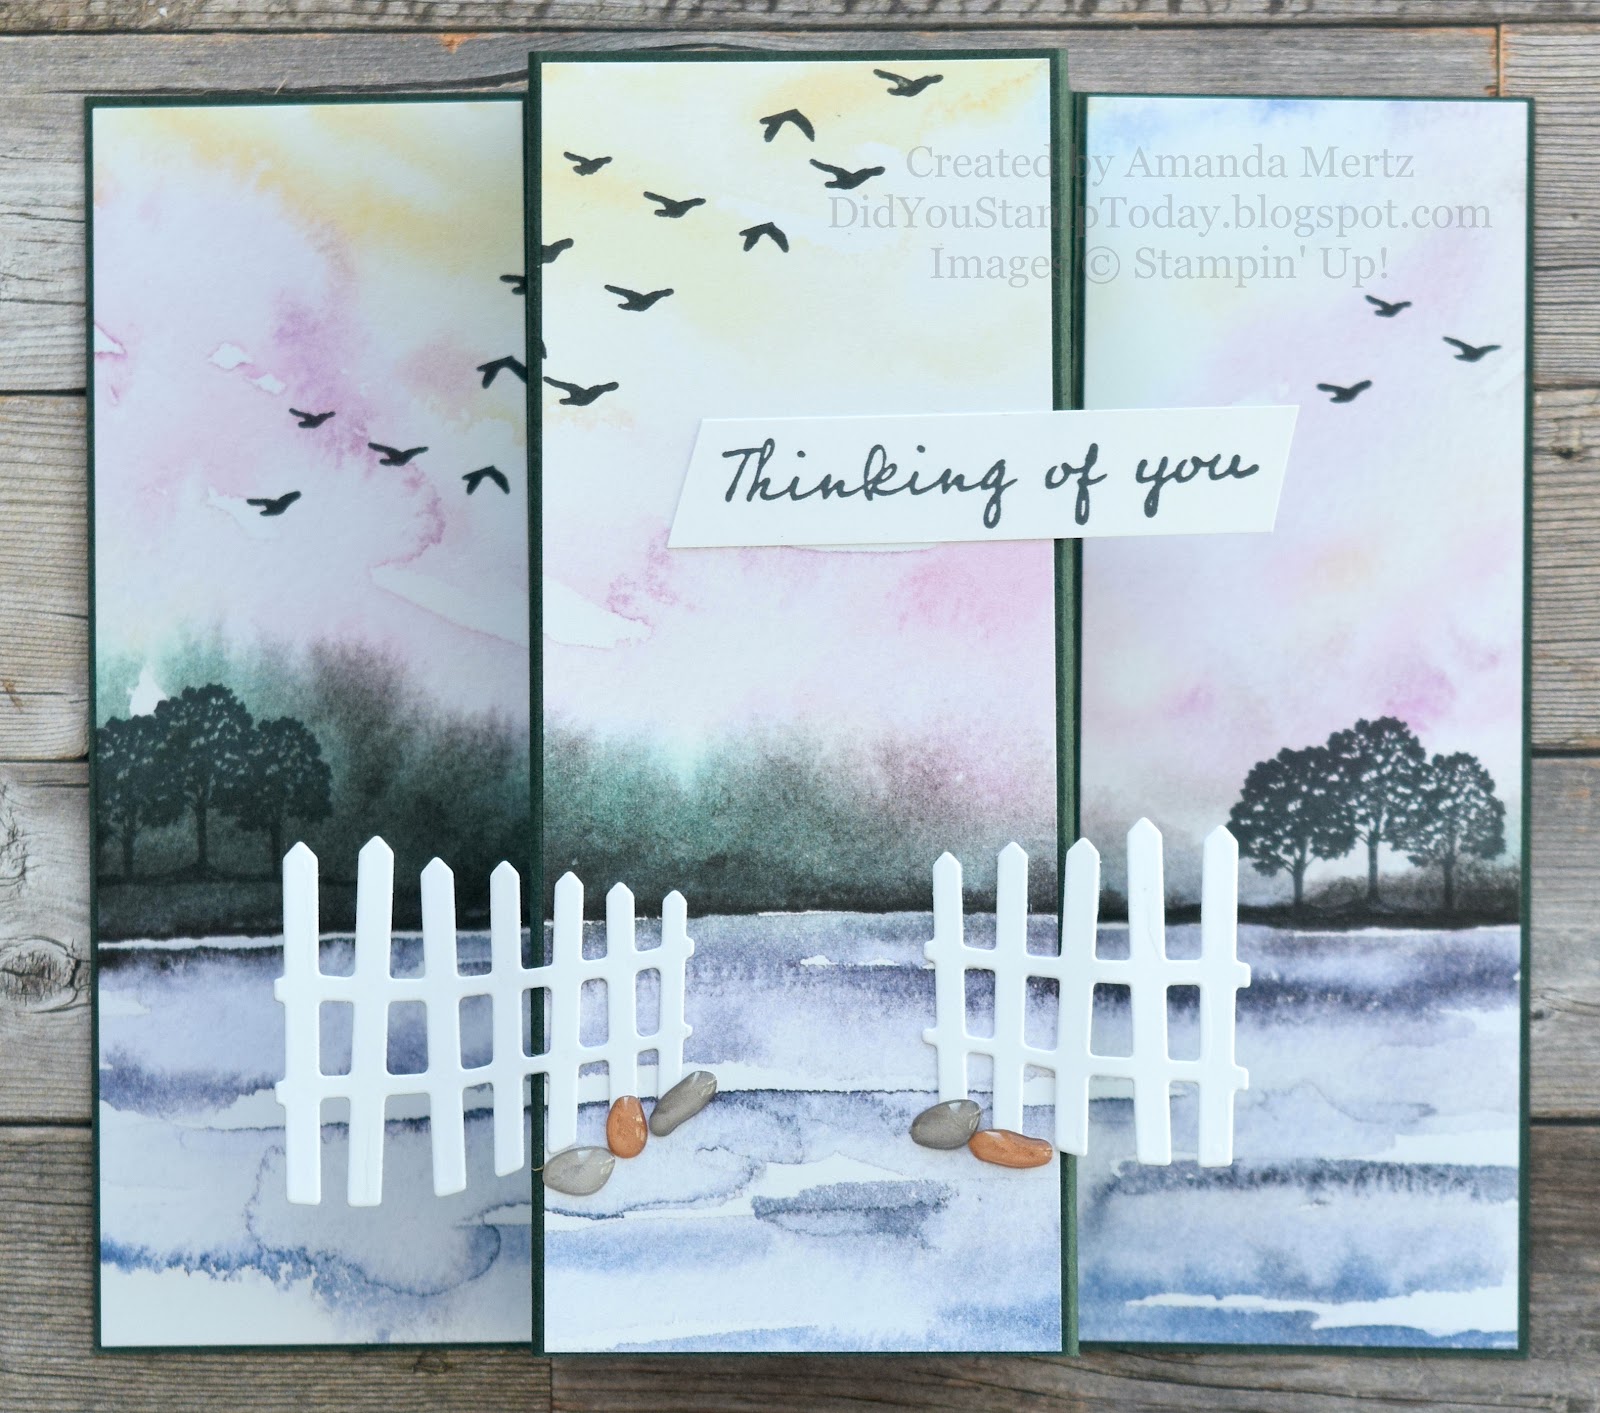
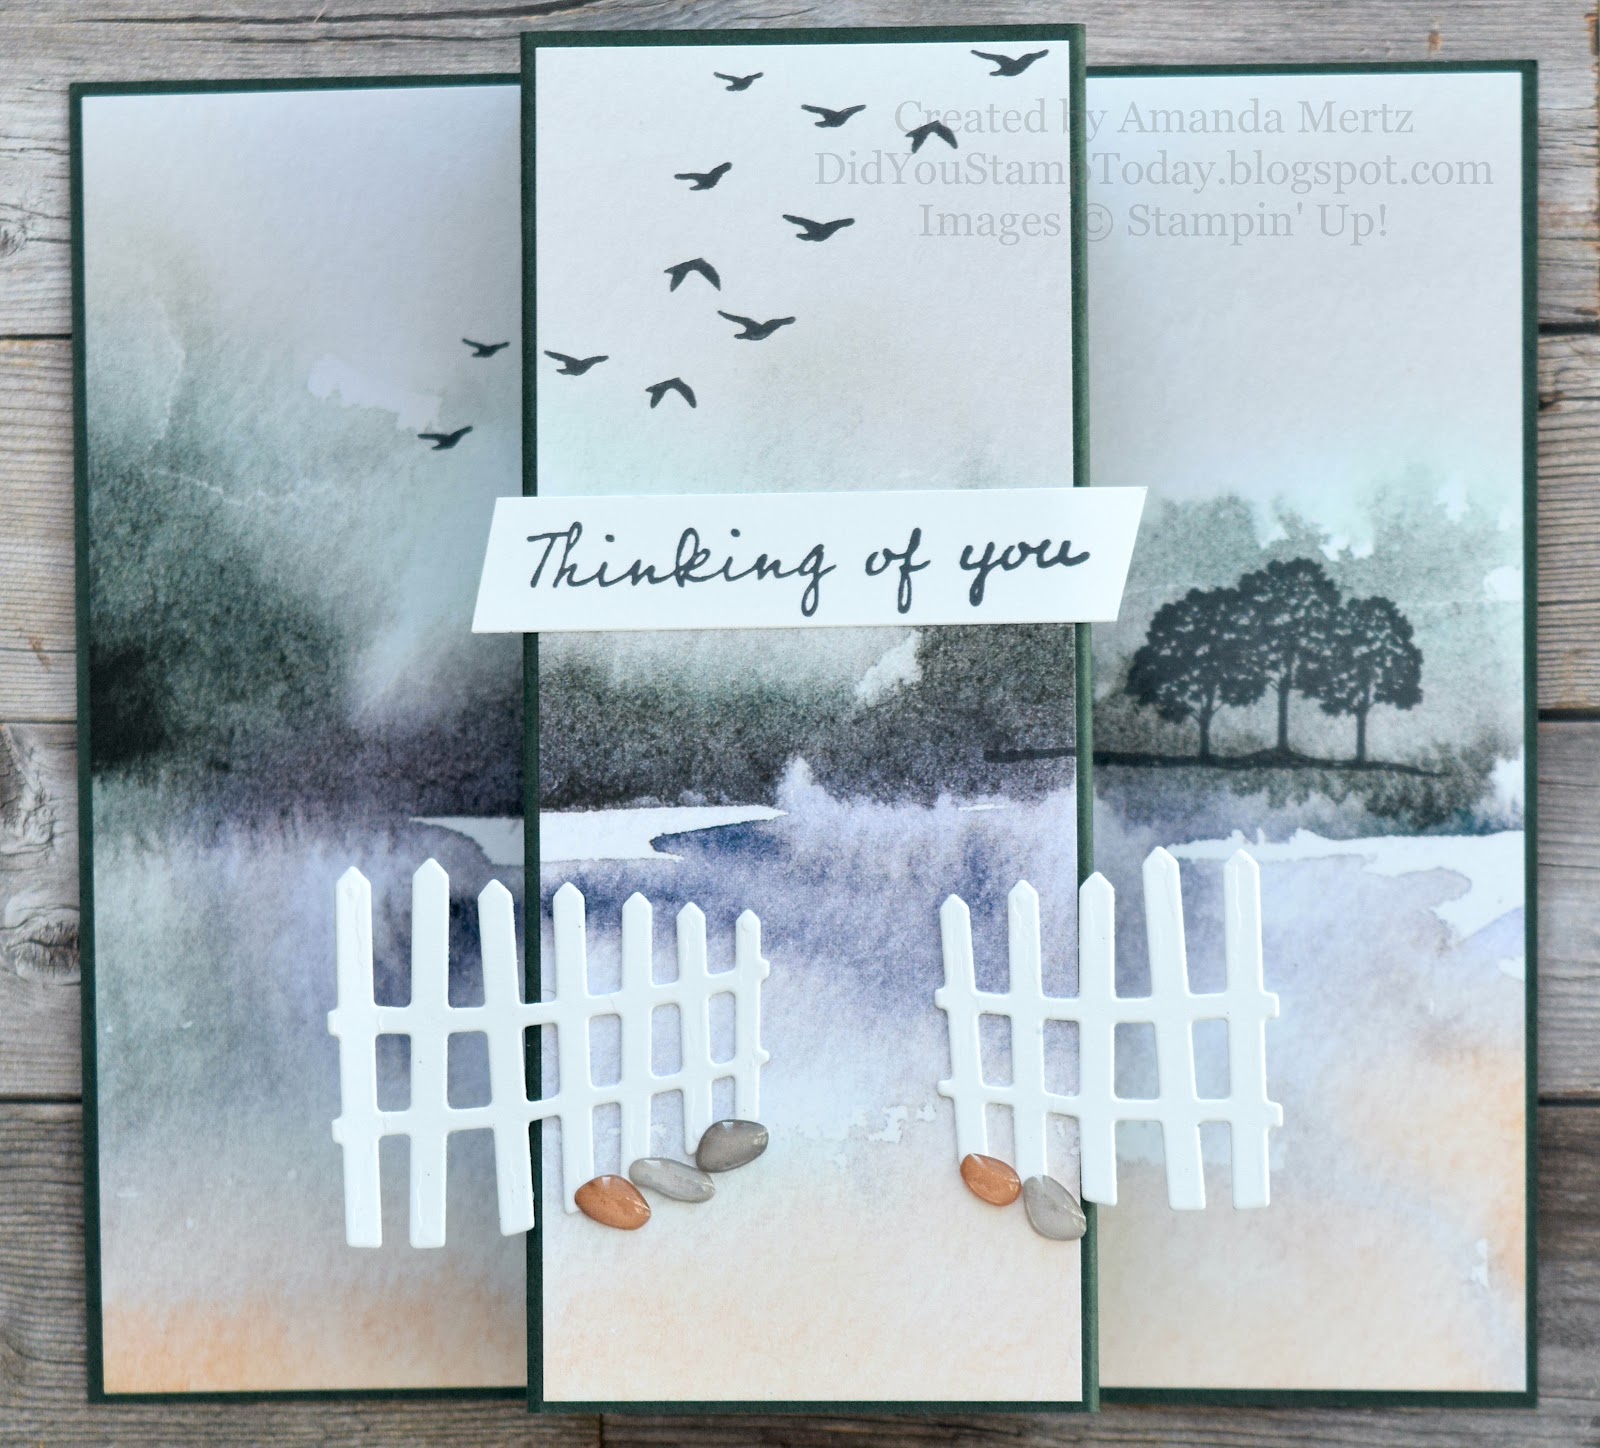
   I love it when Designer Series Paper does all the work for a card!  The New Horizons DSP is so beautiful you really don't need to do a lot to show it off.  I designed today's card to show off this paper as well as have a little bit of an art piece as the finished product.  While all cards should be displayed and shown off, I think this fun fold triptych style card can stand on it's own as a beautiful water colored scene.

  I've done a video showing how this card gets put together so you can see how easy this it is.  My local stampers who made this in my last class thought it looked hard at first but all agreed that it was far easier than they thought it would be.

  Another great thing about this card style is that you use almost the full 6x6 DSP sheet so you don't have to cut off any of the scene!


  Paper Measurements:

Card Base: 8 1/2" x 5 1/2" (normal A2 size card base)

DSP: 6 x 5 3/8" (see the video about trimming the DSP from the top or bottom to get the right size)

Card Base Scoring:

  Score at 2", 3 1/8", 5 3/8", and 6 1/2"

Stamp your DSP before cutting.  It will give you a better result with the scene flowing from one panel to the next.

  Cut DSP starting with the left hand side of the panel (see the video for this visual as well):

  Cut at:  1 7/8", 2 1/8" and 1 7/8"*

* you will have a very narrow strip as waste after trimming the 3rd panel

    Add your DSP panels to the card base, die cut the fence pieces and add them to the center panel making sure that they don't over hang the edge of the closed card by too much or it won't fit into an envelope.  Also be sure to not put  adhesive/glue on the whole fence, just the part that is touching the panel.  Add your sentiment and some enamel pebbles to finish off the card.


   I hope you find time to make one of these yourself and that the instructions and video are helpful to your creating!

  Thanks for looking!  Did you stamp today?

Stamps: On the Horizon

Ink: Memento Black

Paper: Evening Evergreen, New Horizons DSP, Basic White

Accessories: Horizon dies, Enamel Pebbles, Simply Scored


Tuesday, February 22, 2022

Royal Tulip Fields - Stampin' Up! Tulip Fields

   It's time for some bright spring-like colors on this gray day!  The Tulip Fields bundle is just the thing to use to create a fun spring scene of flowering fields!


 I started this card with a Highland Heather card base and then stamped the rest of the scene on a piece of Basic White.  The stamps in the Tulip Fields set make it easy to stamp the rows of flowers just cleaning the stamp before using a new color of ink. 

 To add color to the sky I masked off the flower part of the card and lightly blended some Pool Party ink. A few clouds are cut and added to the sky.  Along the horizon I added a few trees and the windmill.  The windmill is stamped in Early Espresso with a bit of shading with Crumb Cake ink and a blender pen. 

  For the sentiment (from the Flowering Tulips stamp set) I embossed it in white and cut it with one of the Tailor Made Tags dies.  I used crinkled seam binding ribbon and a bit of twine to tie it off.  And last but not least a few Brushed Brass butterflies to accent around the sentiment.

  Thanks for looking!  Did you stamp today?

Stamps: Tulip Fields, Flowering Tulips

Ink: Gorgeous Grape, Highland Heather, Fresh Freesia, Daffodil Delight, Mango Melody, Old Olive, Pool Party, Early Espresso, Crumb Cake

Paper: Highland Heather, Basic White, Gorgeous Grape

Accessories: Windmill Fields dies, Tailor Made Tags dies, linen thread, crinkled seam binding ribbon, Brushed Brass Butterflies, dimensionals, white embossing powder

Monday, February 21, 2022

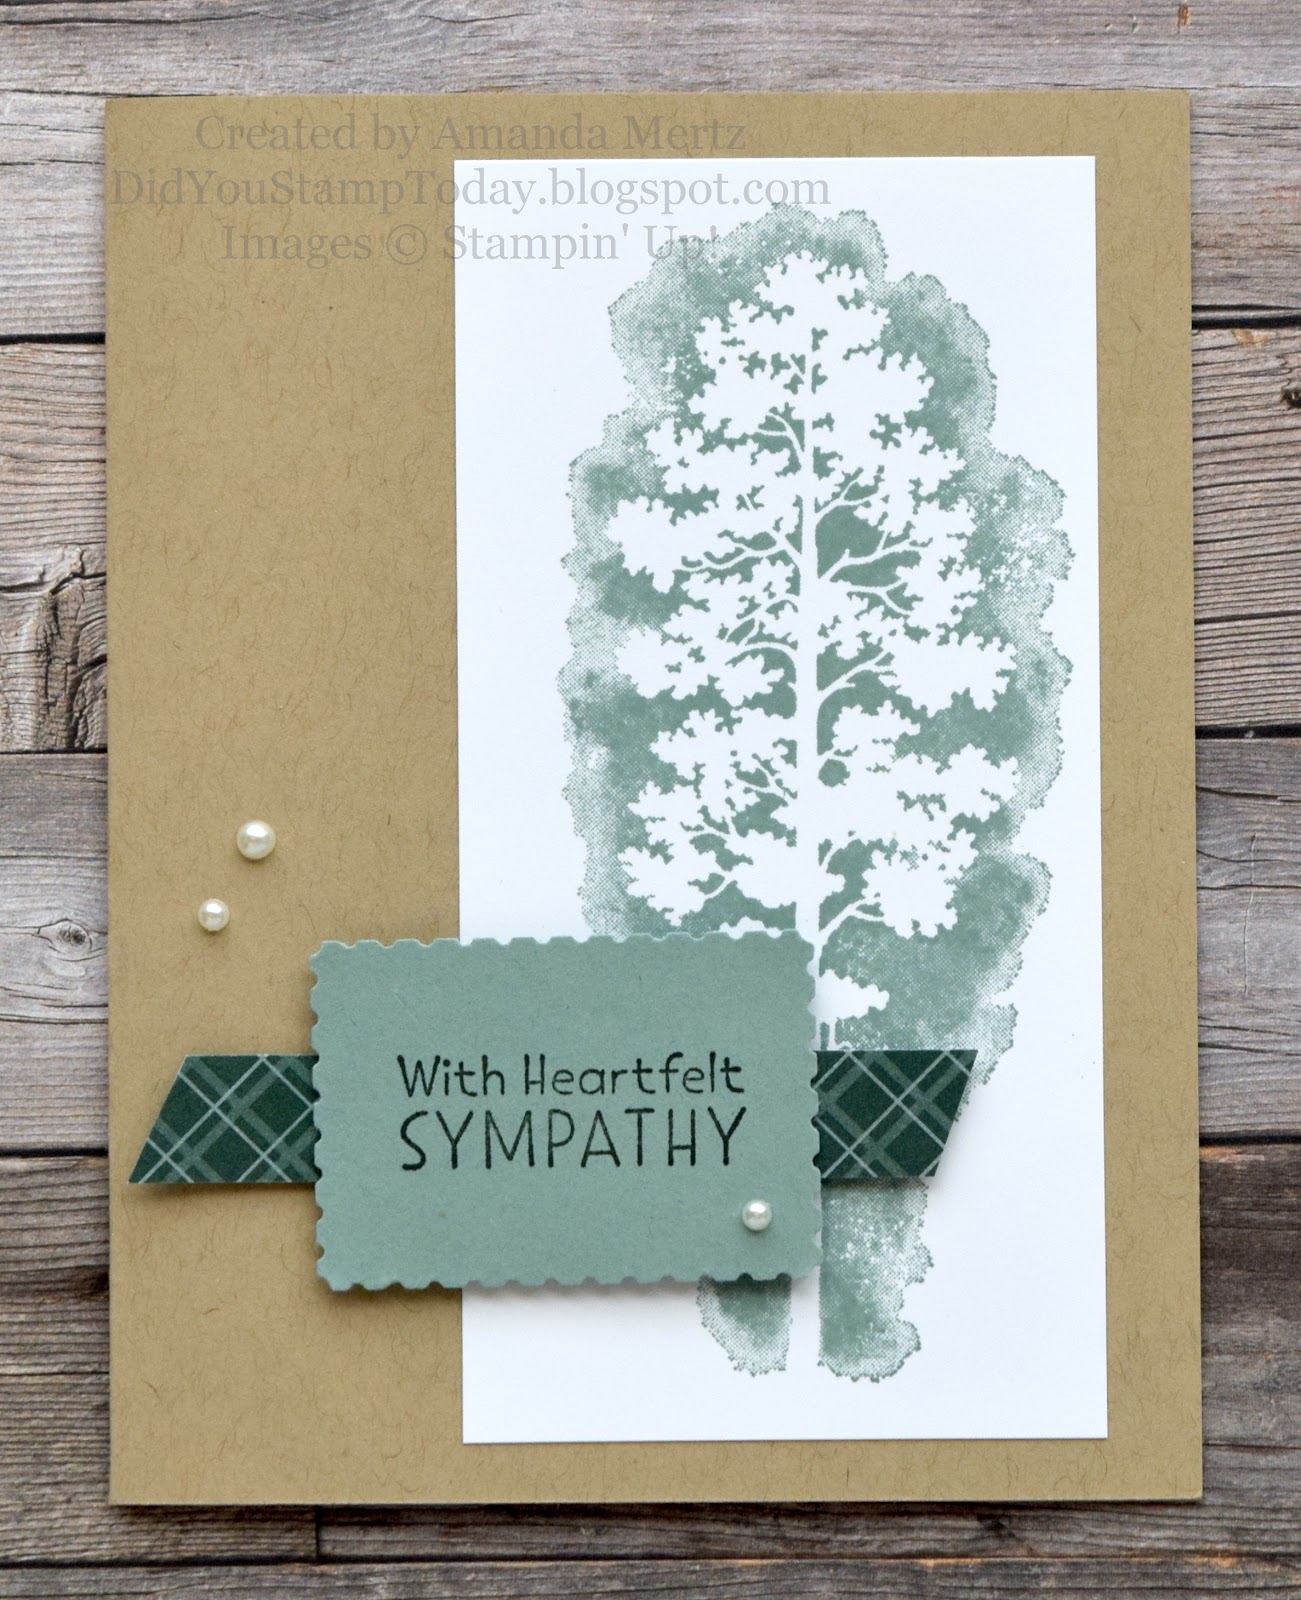
Silhouette Sympathy - Stampin' Up! Amazing Silhouettes

   Mondays are always busy so it's a quick and easy card for today.  I even made a video showing how fast this card comes together with just a few supplies.


  This is a great design to make a few of to keep in your stash so you're always ready to have one to mail out.  It's also a great card for beginner stampers to get to use some stamps and a punch to make a pleasing card in just a few minutes.


  Thanks for looking!  Did you stamp today?

Stamps: Amazing Silhouettes, Inspired Thoughts 

Ink: Soft Succulent, Evening Evergreen

Paper: Crumb Cake, Basic White, Soft Succulent, 2021-2023 In Color DSP

Accessories: Rectangular Postage Punch, dimensionals, adhesive pearls

Sunday, February 20, 2022

Cool Palms - Stampin' Up! Paradis Palms

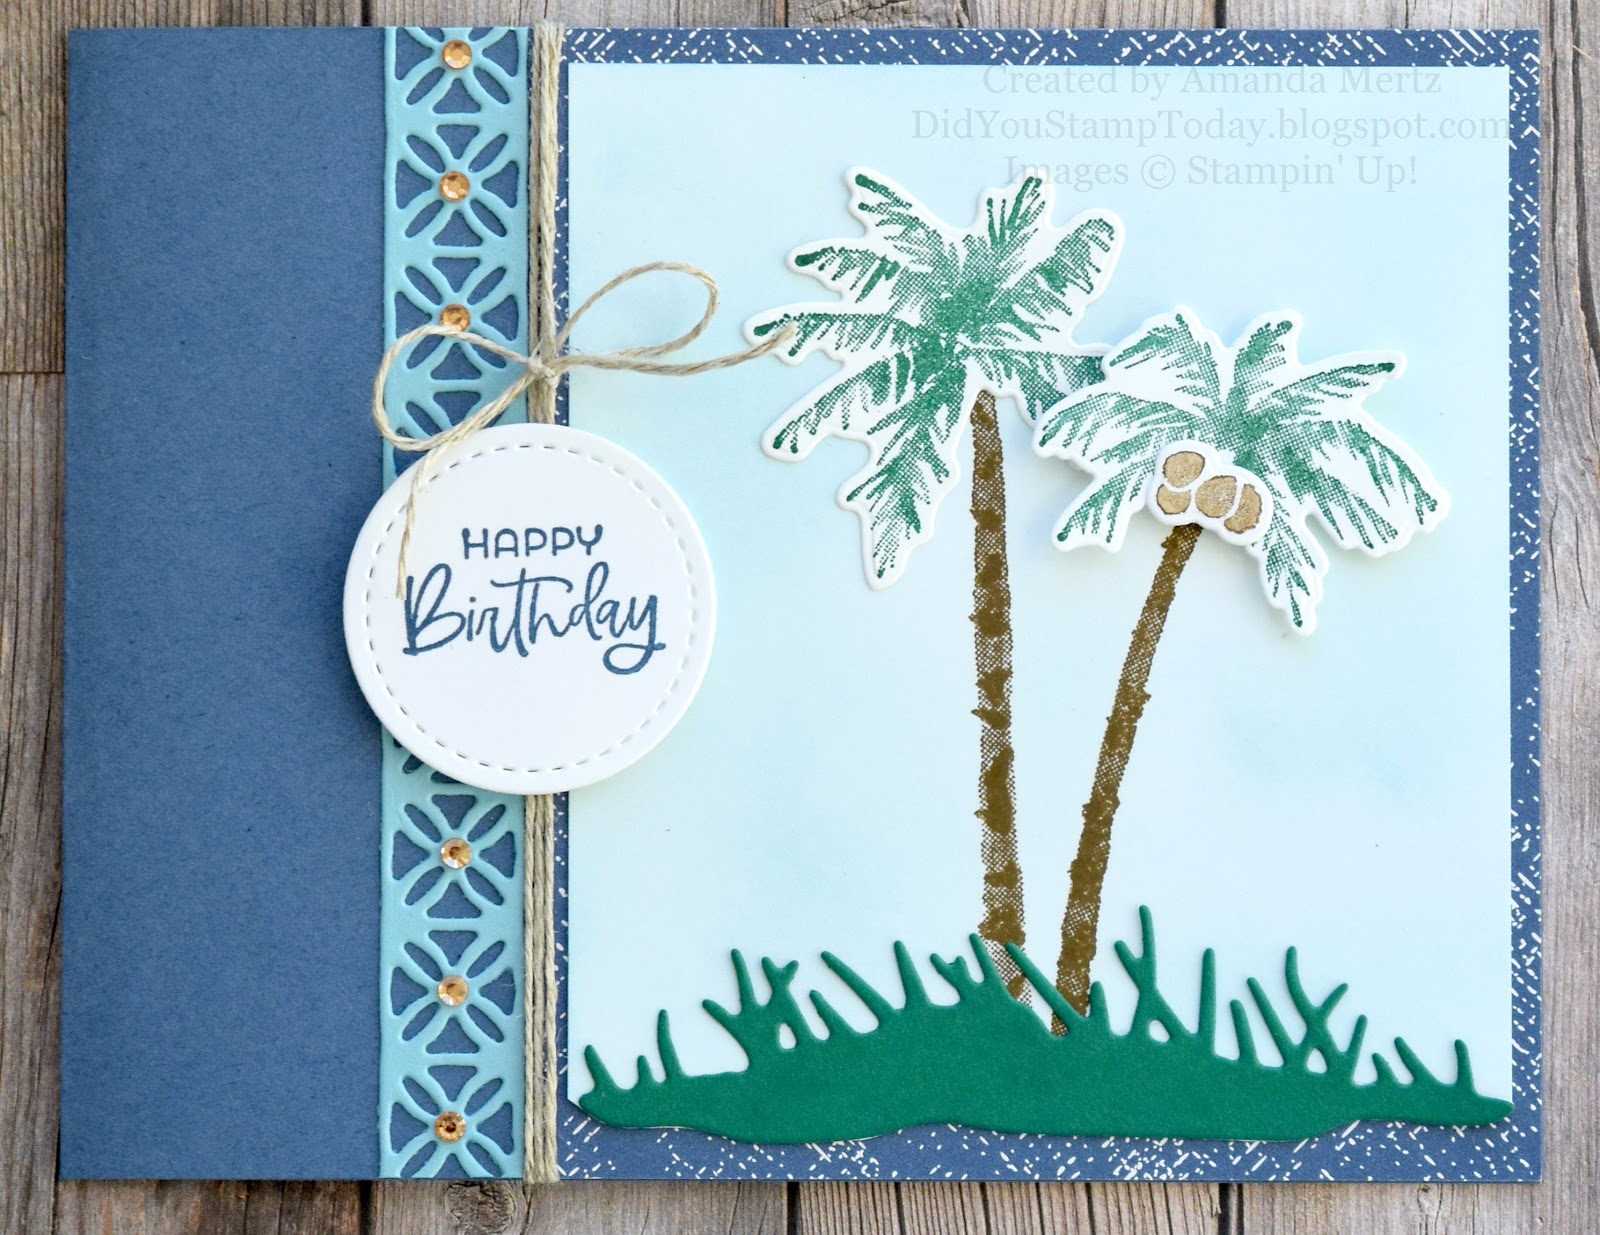
 As a reward to myself after cutting cardstock for class this week I pulled up some challenges to play along with before they end.  The Color Throwdown Challenge has a great set of colors this time and I thought they would work for a bit of a masculine birthday card.


  I started with a Misty Moonlight base and then added a bit of retired 2020-2022 In Color DSP.  I stamped the palm trunks onto Basic White with Soft Suede ink, added the die cut grassy mound in Shaded Spruce as well as the stamped palm fronds at the top also in Shaded Spruce.  The coconuts are stamped off Soft Suede for a little lighter look.  I then lightly blended Balmy Blue ink around the trees to fill in the blue sky.

  I cut a piece of Balmy Blue cardstock with the cool border die in the Palms die set and adhered that along the edge of the image panel.  I highlighted the center of the designs in the border with champagne rhinestones.  Some linen thread is tied around the card front and secured with a bow.  Happy Birthday is stamped in Misty Moonlight and cut with the retired Stitched Shapes dies.  

  Thanks for looking!  Did you stamp today?

Stamps: Paradise Palms

Ink: Soft Suede, Misty Moonlight, Shaded Spruce, Balmy Blue

Paper: Misty Moonlight, Basic White, Shaded Spruce, 2020-2022 In Color DSP (retired)

Accessories: Palms dies, linen thread, champagne rhinestones, dimensionals