Sunday, November 7, 2021

Gorgeous Thanksgiving - Stampin' Up! Gorgeous Leaves

 Are you counting down the days until Thanksgiving?  The Paper Players will help you pass some time with our new challenge this week.  Claire has given us the theme of "Give Thanks" so use the inspiration photos or the phrase to get your card started and show us what give thanks means to you.

  I'm giving thanks that I was able to get ahead for this week and used this challenge to design for my last class as well as my design team commitment; two birds, one card.  I was inspired by the beautiful fall leaves to make a Happy Thanksgiving card to send out to relatives we won't be seeing this time around.


   The base is Very Vanilla thick with a piece of Early Espresso embossed with the Bark embossing folder. A narrow strip of the fabulous Gold & Rose Gold metallic paper adds some subtle elegance.  The splatter stamp from Gorgeous Leaves is stamped along the seam in Early Espresso ink stamped off once.

  The little branch is cut from Early Espresso.  One leaf is stamped in Cinnamon Cider and the other is inked in Bumble Bee with Pumpkin Pie ink sponged on the edges with a dauber before stamping.

  The sentiment is from Banner Year and is stamped in Early Espresso and popped on dimensionals.  The final touch is a linen thread bow.

  For more 'Give Thanks' inspiration check out the rest of The Paper Players Design Team: 

Jaydee
 LeAnne
Claire
Joanne
Laurie
Anne Marie
Ann
Nancy
Debbie 

   Thanks for looking!  Did you stamp today?

Stamps: Gorgeous Leave, Banner Year

Ink: Early Espresso, Cinnamon Cider, Bumblebee, Pumpkin Pie

Paper: Very Vanilla thick, Early Espresso, Gold & Rose Gold Metallic Specialty paper 

Accessories: Bark embossing folder, Intricate Leaves dies, dimensionals, linen thread

Friday, November 5, 2021

Checked Autumn Petals - Stampin' Up! Hand-Penned Petals

 Better late than never with my card for today!  I had a lot of fun combining the Freshly Made Sketches layout and The Card Concept inspiration of which I used the colors and the checks to make my clean and layered card. 

  I liked the fall colors I used on this other card made with the Hand-Penned Petals set so I thought The Card Concept colors would look great also.  I made 20 of this design so I didn't get overly complicated with a lot of extras.

  The base is Basic White thick, then a layer of Soft Succulent embossed with the Tasteful Textile embossing folder.  I pulled in the checks from the inspiration photo with a piece of the Pattern Party Host DSP.

  The flower outline is stamped in Memento black and then filled in with Cajun Craze, Pumpkin Pie and Soft Succulent.  I cut it out and adhered it to a Basic Black stitched circle with dimensionals.

  The 'thanks' sentiment is embossed in white on Basic Black and then I fussy cut and popped it on dimensionals.  And as always, still trying to use up the retired candy dots so I added either a Pumpkin Pie or Cajun Craze one to each card.

  Thanks for looking!  Did you stamp today?

Stamps: Hand-Penned Petals

Ink: Cajun Craze, Pumpkin Pie, Soft Succulent, Versamark

Paper: Basic White thick, Basic White, Soft Succulent, Pattern Play DSP, Basic Black

Accessories: Tasteful Textile embossing folder, Penned Flowers dies, Stitched Shapes dies (retired), white embossing powder, dimensionals, candy dots (retired)


Tuesday, November 2, 2021

Leaves on the Wind - Stampin' Up! Intricate Leaves Dies

   The cooler weather we've been having lately has really gotten the trees to start showing some fall color.  It fun taking our walk in the woods every morning and seeing which trees are changing and to what colors!  The card I'm sharing today was made back in September when everything was still green but I was anticipating the autumn colors and had some fun with my Blends markers with a fun alcohol inking technique.


  I taught this alcohol ink technique in September with this card so check that out to get the details on how to it.  It's so easy!  For today's card instead of using the Blends to make stripes of color on the vellum panel I used them to make spots of color in a random pattern filling in all the spaces.  I used Daffodil Delight, Pumpkin Pie, Real Red and Cherry Cobbler.

  Once the rubbing alcohol was dry I adhered the vellum to a piece of Basic White cardstock and then used the Intricate Leaves dies to cut out the leaf shapes.

  The card base is Balmy Blue with a piece of Basic White cut with the Basic Borders dies to make the clouds.  I embossed it with the retired Subtle embossing folder for a bit more texture.  The sentiment from the Through it Together stamp set and is stamped in Memento black.  I highlighted the smaller sentiment with a narrow scrap of Balmy Blue.

  Finally I added my leaves to the card front with dimensionals and the center leaf got a small baker's twine bow.

  Thanks for looking!  Did you stamp today?

Stamps: Through it Together

Ink: Memento Black

Blends: Daffodil Delight, Pumpkin Pie, Real Red, Cherry Cobbler

Paper: Balmy Blue, Basic White, Vellum

Accessories: Intricate Leaves dies, Basic Borders dies, Subtle embossing folder (retired), dimensionals, baker's twine

Sunday, October 31, 2021

Merry Little Trees - Stampin' Up! Christmas Trees Dies

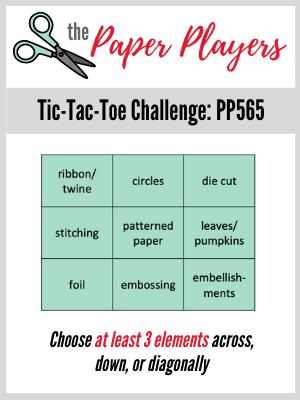
   The Paper Players Challenge is back with a new challenge today! Ann has given us a fun Tic-Tac-Toe board for our inspiration.  Pick a row or column down, across or diagonal and use those 3 elements to create your card.

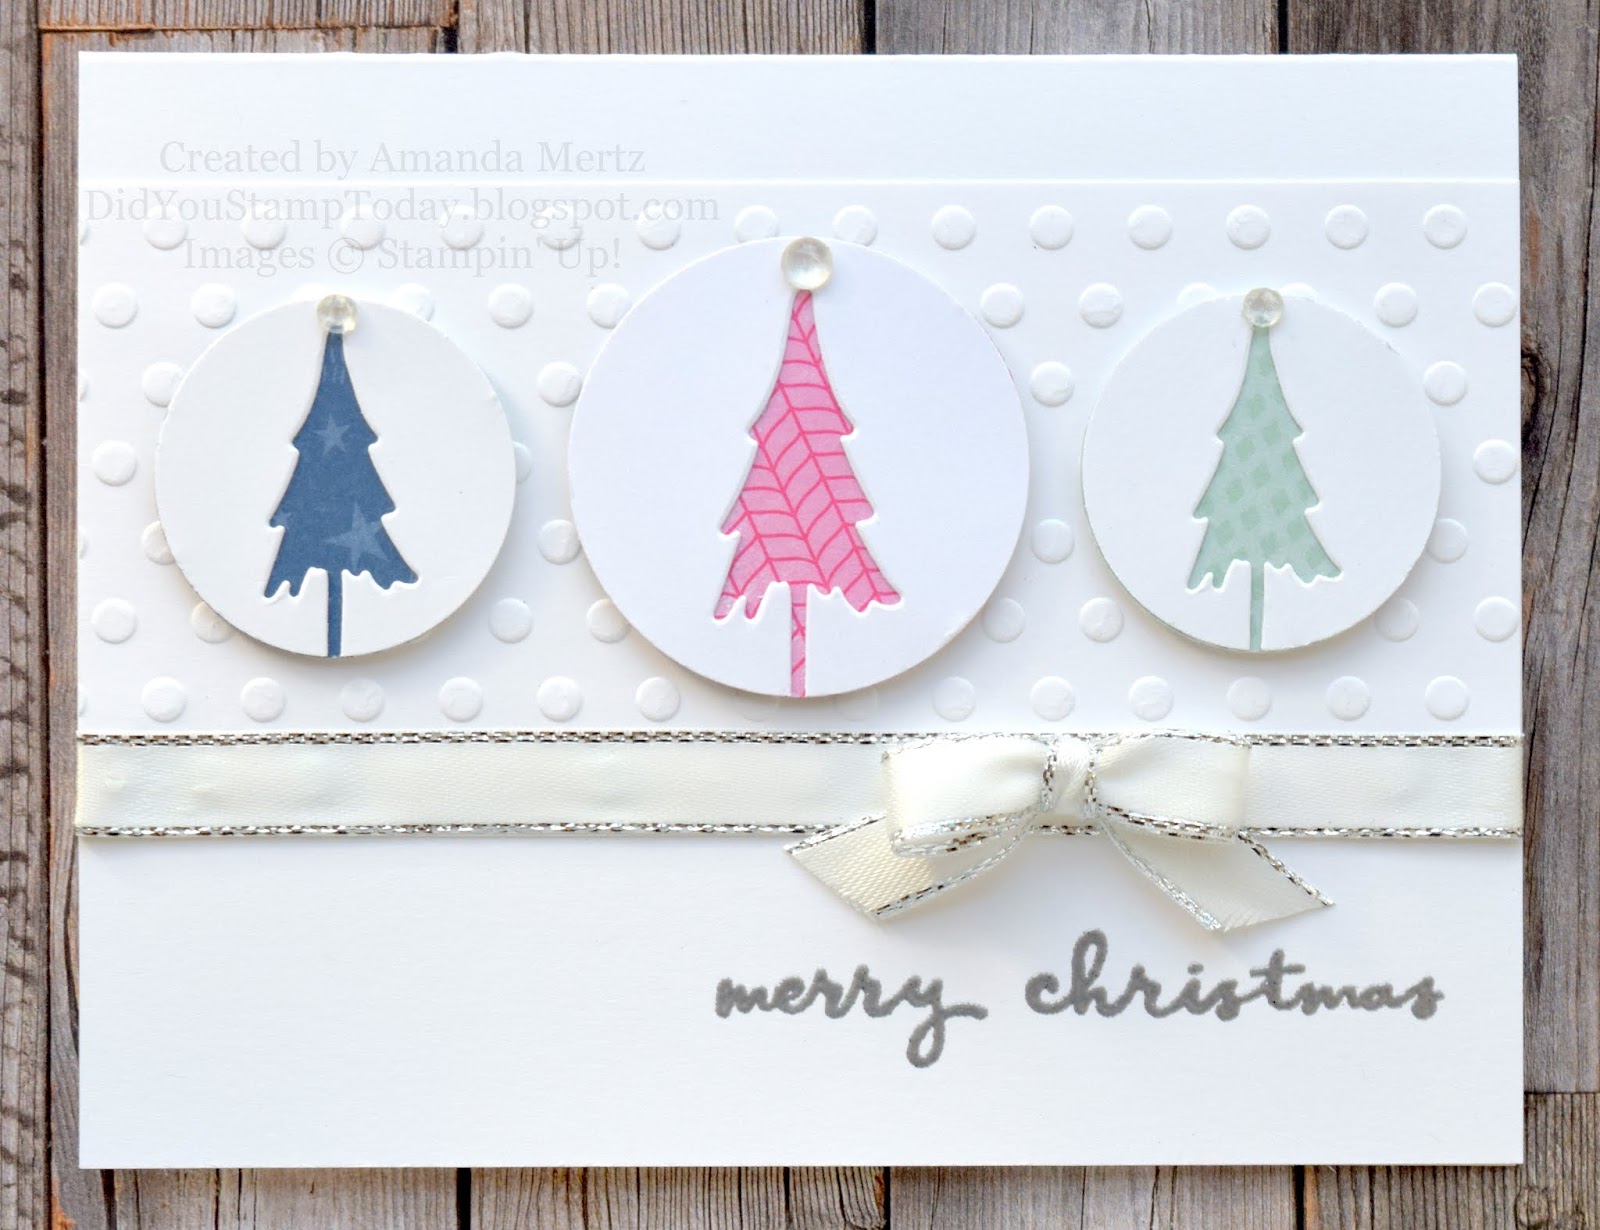
  I chose the middle row down; Circles, Patterned Paper & Embossing to make my card.  I need to get going on Christmas cards so that was my focus for this card.  


  Apologies for the poor photo!  I was losing my natural light to photograph so I promise this card looks better in person!

  I used circles for the trees, the embossed patterned and the little gems at the tops of the trees.  Embossing is the embossed polka dots as well as the silver embossed sentiment.  And of course the patterned paper for the trees which I layered behind the circles with the trees cut out of them.  The Christmas Tree dies and Whimsy & Wonder DSP are definitely the stars of this card.

  Check out the rest of the Design Team and then share your creation in the gallery so we can oooh and aaah over it!

Jaydee
 LeAnne
Claire
Joanne
Laurie
Anne Marie
Ann
Nancy
Debbie 

  Thanks for looking!  Did you stamp today?

Stamps: Christmas to Remember

Ink: Versamark

Paper: Basic White thick, Basic White, Whimsy & Wonder DSP

Accessories: circle punches, Christmas Trees Dies, Checks & Dots embossing folders, Metallic Edges ribbon (retired), silver embossing powder, dimensionals, Elegant Faceted gems


Saturday, October 30, 2021

Cozy Knit Sweater & Fork Bow How To VIDEO - Stampin' Up! Knit Together Bundle

   There are a lot of fun perks about being a Stampin' Up! demonstrator but one of my favorites is teaching cool little tricks and tips to other stampers who get just as excited as I do.  I had a class this week for my local stampers (if you're in the Richmond, VA area and would like to get on my email list just leave a comment or send me an email!) and we made this adorable Christmas card using the Knit Together bundle.  Not only did they get hands on time with this fun stamp and die set but I was able to (re)teach them how to make a fork bow.  A 'what' you ask?  Yup, it's a bow made with a fork.  I promise it's super easy and super cute.  Check it out on the card we made!

  And now here's a quick video showing How to Make a Fork Bow.  If this is a new tip for you I bet a fork will find it's way into your stamping supplies!


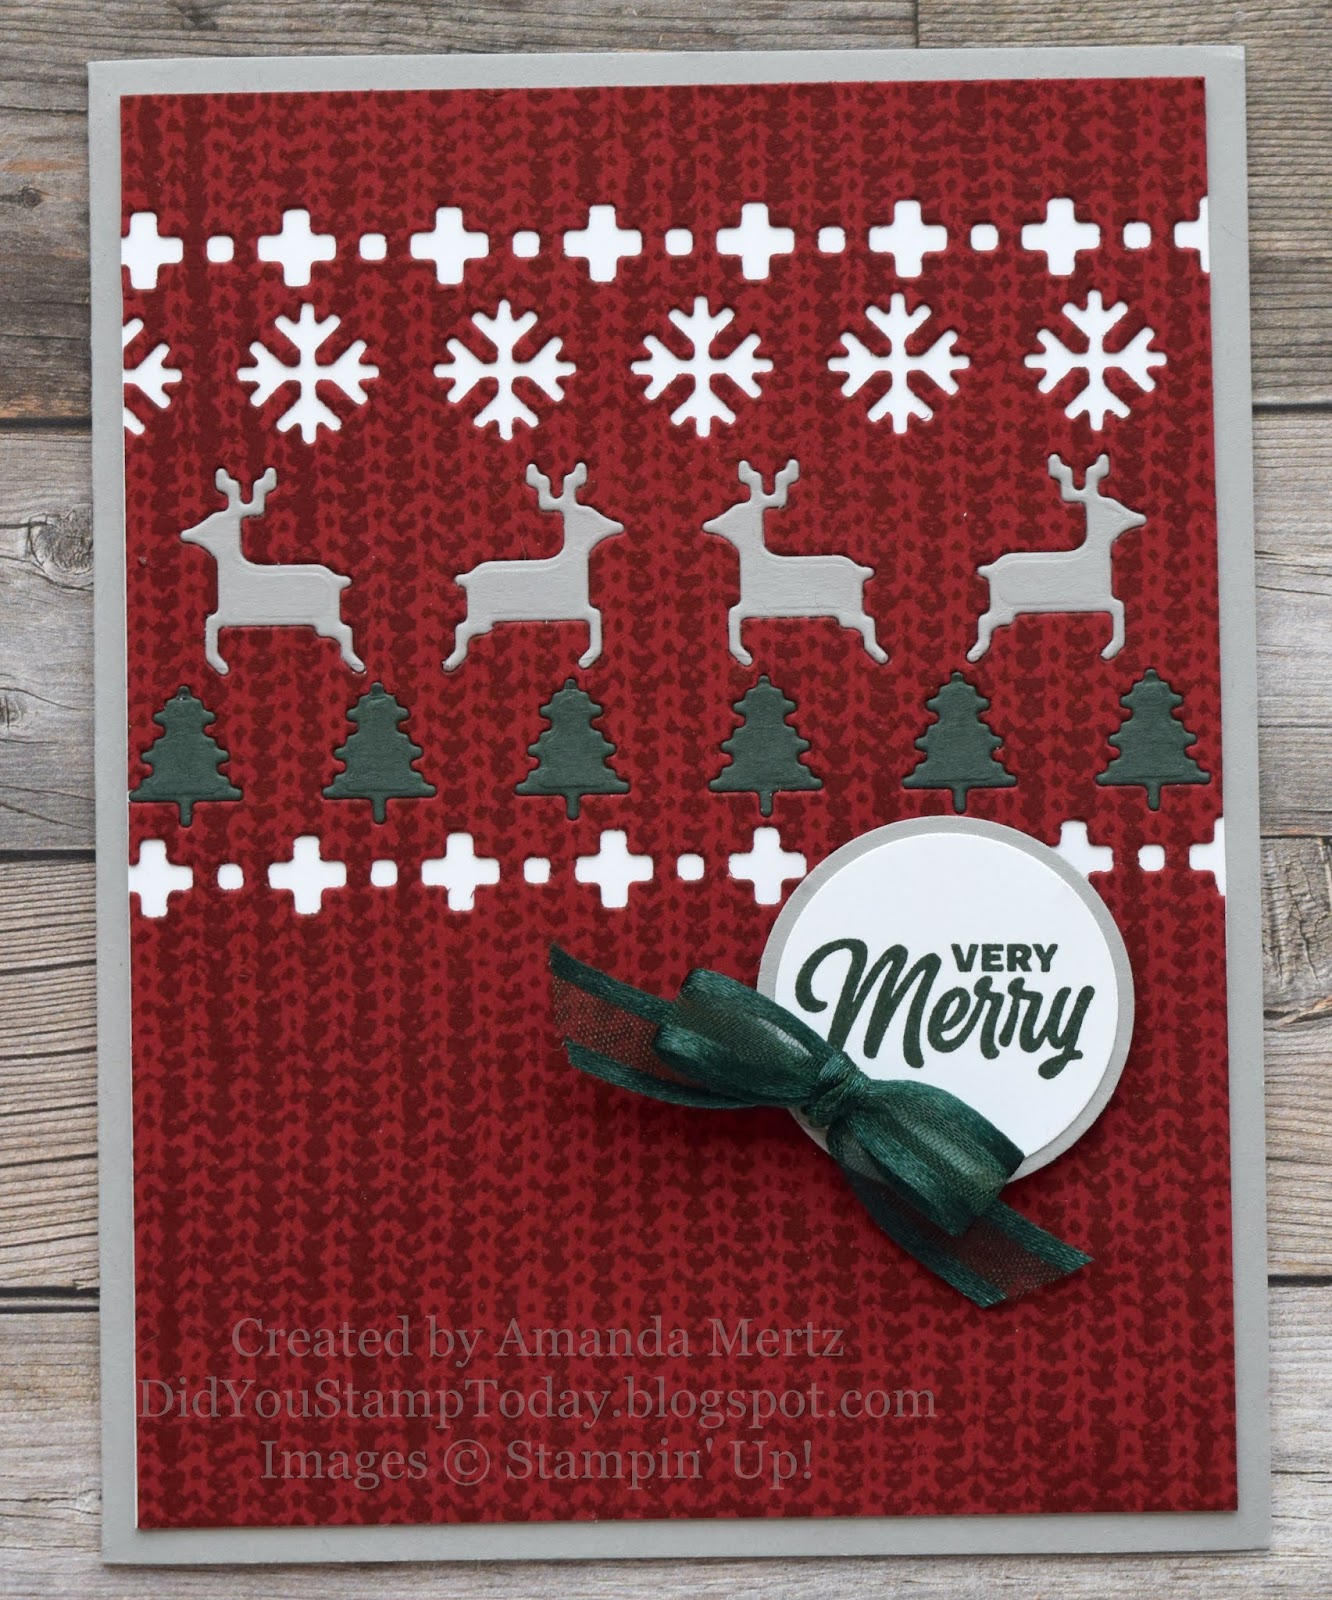
  The card is a fun one to put together and the Knit Sweater dies offer endless mix and match opportunities for patterns and colors.  The card we made in class starts with a Smoky Slate base.  Then we stamped a layer of Cherry Cobbler (a must have color for fall and Christmas card making!) with Cherry Cobbler ink and the Knit Together background stamp.  I mounted the stamp on the Stamp-a-ratus for even inking and stamping.  

 After the stamping we used the Knit Sweater dies to cut the pattern in the Cherry Cobbler layer. We added a layer of Basic White behind the die cut layer so the patterns would pop.  To add even more fun details we cut a piece of Evening Evergreen with the tree die and a piece of Smoky Slate with the deer die and then added the shapes back into the negative space on the Cherry Cobbler piece.  If you don't like messing with glue you can use some of our adhesive sheets and the cardstock to make little stickers for ease of application.  It's a great product to use for fine detailed die cuts that are hard to apply adhesive to.

  When the deer and trees were finished being added back in the sentiment from Sweet Little Stockings was stamped in Evening Evergreen on Basic White then cut out and backed with a Smoky Slate circle.  It's then popped on dimensionals and then we added our sweet little Evening Evergreen fork bow as the final touch.

 I hope you have fun making your own fork bows now that you know how easy it is!

  Thanks for looking!  Did you stamp today?

Stamps: Knit Together, Sweet Little Stockings

Ink: Cherry Cobbler, Evening Evergreen

Paper: Smoky Slate, Cherry Cobbler, Basic White, Evening Evergreen

Accessories: Knit Sweater dies, circle punches, Evening Evergreen open weave ribbon, dimensionals, fork(!)


Friday, October 29, 2021

Autumn Petals - Stampin' Up! Hand-Penned Petals

 It is a dreary day here in Virginia!  It's been raining on and off since last night and it is gray and soggy. A perfect time to stay in and stamp. A not so perfect time to try to photograph projects or record videos!  My stamp room lighting deficiencies are shown in full on dark days like this!  

  What kind of lights do you use for your stamping space and for photography and video recording?  Usually I just use natural light from my big window for photographs and that works really well but on days like this it's hard to get enough light. Check back over the next few days for some how to videos if I can get them to not look like I'm in a cave! My desk lamp and the camera ring light will be working over time for sure!

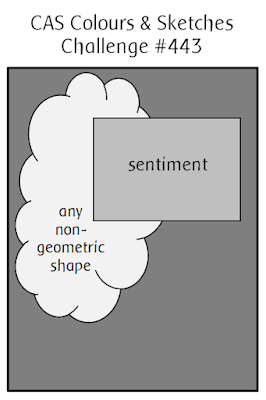
  For today I have a clean and simple (CAS) card that I'm sharing over at CAS Colours & Sketches for their current layout.  It's also the second of two entries to try out for their design team call.  To see my first project click HERE.

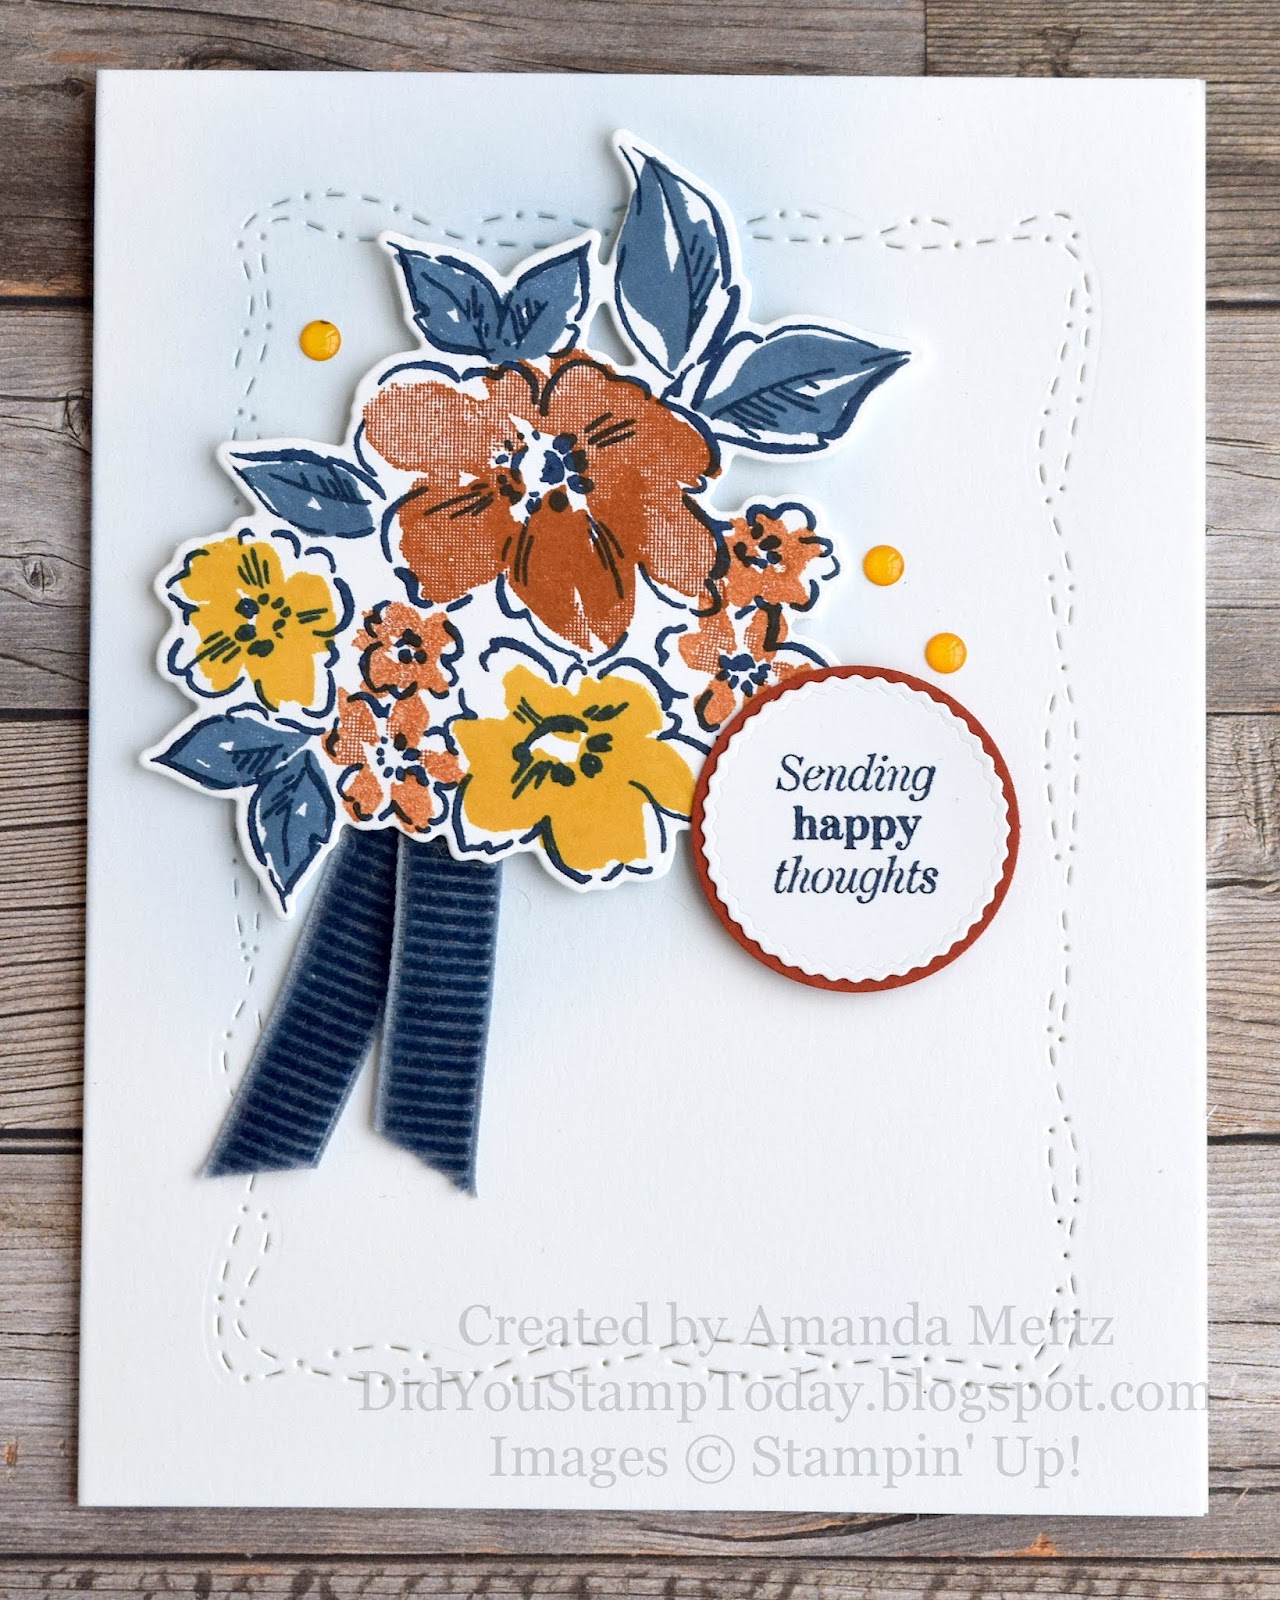
  I've had this color combo in my pile of inspiration for a while now and this challenge seemed like the perfect time to use it for this non-geometric shaped flower cluster.  The Hand-Penned Petals set is gorgeous no matter what colors you use but I'm really digging this fall inspired combo. 

  I started with a Basic White thick card base that I embossed with the Stitched With Whimsy dies just for a bit of subtle detail.  I added a some light shading with my blending brush and Misty Moonlight ink to create a space for the flowers.

  Next I stamped the big flower cluster in Night of Navy then filled in the flowers with Cajun Craze and Bumblebee ink.  The leaves are filled in with Misty Moonlight.  I die cut the shape then popped it on the card base with dimensionals but first tucked a piece of retired corduroy ribbon underneath.

  The sentiment from Many Messages is stamped in Night of Navy and cut with the Tasteful Labels dies.  It's then backed with a Cajun Craze circle and also popped on dimensionals.  The final touch are a few Bumblebee enamel dots.

  Thanks for looking!  Did you stamp today?

Stamps: Hand-Penned Petals, Many Messages

Ink: Night of Navy, Cajun Craze, Bumblebee, Misty Moonlight

Paper: Basic White thick, Cajun Craze

Accessories: Stitched with Whimsy dies, Penned Flowers dies, Tasteful Label dies, dimensionals, corduroy ribbon (retired), enamel dots (retired), circle punch, blending brush


Wednesday, October 27, 2021

Gorgeous Purples - Stampin' Up! Gorgeous Leaves

   Happy Wednesday stamping friends!  The last few days have been all about stamping! I've been designing for, prepping for and having my monthly class.  I love seeing my local stampers each month and getting to share new projects with them.  If you're local to the Richmond, VA area and would like to join in on the monthly stamping fun just reach out and get on my email list so you can get all the details.  

  I'll be sharing those class projects soon but in the meantime I have a card that I can finally show as I made it for my mother-in-laws birthday last week and now that I know she's received it there won't be a spoiler!

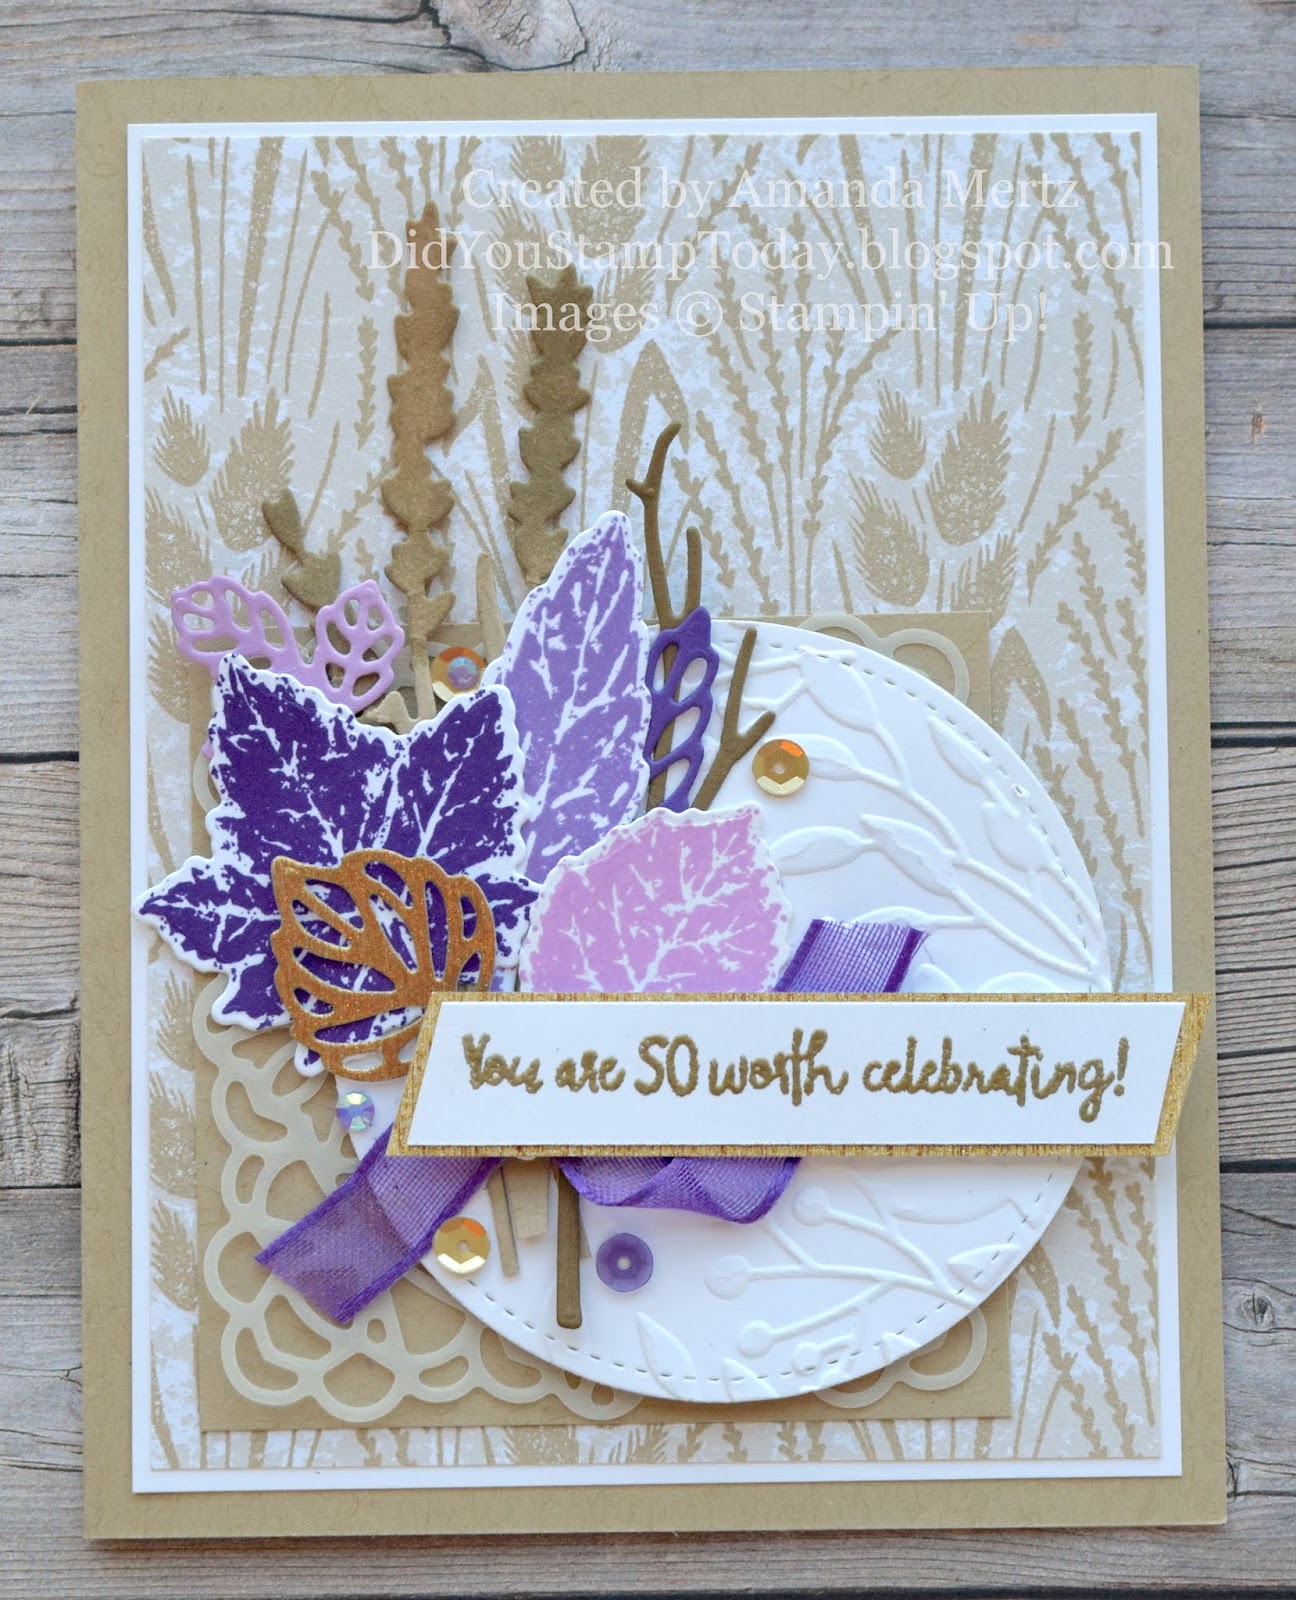
  I had a lot of fun putting this beauty together!  There's a lot of texture and detail in there and I combined products from a few different suites to get just the right look.  To start I used a Crumb Cake base, then a layer of Basic White, then a piece of Harvest Meadow DSP in a nice neutral pattern.

  For the small square element I used a bit more Crumb Cake then topped it with a vellum square doily.  Next up is a Basic White circle embossed with one of the Greenery embossing folders.  Now comes all the layering of stamped leaves, gold die cut leaves, and a branch all using the Gorgeous Leaves bundle.  A sprig of wheat cut using the Harvest dies gives some height to the arrangement and ties in with the DSP.

  Next comes some fun sparkly embellishments in the way of gold sequins, purple sequins and a few Fresh Freesia adhesive gems.  A length of Gorgeous Grape sheer ribbon helps anchor the sentiment.

  The sentiment is from the All Squared Away set and embossing in gold.  After I trimmed the ends I layered it on a slightly larger piece of the Gold Metallic Specialty paper which I absolutely love (page 135 of the Annual catalog, the sample is so small and tucked into the fold so it's really easy to miss!).  I love all the purple and gold against the Crumb Cake; it's nature-y but with a fun 'pop'!

  Thanks for looking!  Did you stamp today?

Stamps: Gorgeous Leaves, All Squared Away

Ink: Gorgeous Grape, Highland Heather, Fresh Freesia, Versamark

Paper: Crumb Cake, Basic White, Soft Suede, Gold Specialty Paper, Fresh Freesia, Gorgeous Grape

Accessories: Stitched Shapes dies (retired), Greenery embossing folder, dimensionals, Harvest dies, Intricate Leaves dies, sequins, adhesive gems, sheer ribbon, gold embossing powder, square vellum doily


Sunday, October 24, 2021

Moonlight Coneflowers - Stampin Up! Nature's Harvest - Paper Players 564

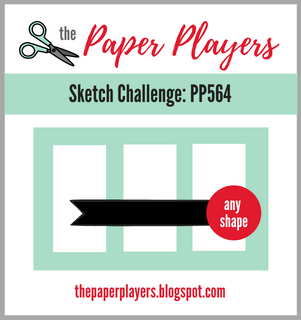
   I always say the best way to start the week off is to do some stamping!  Lucky for you The Paper Players Challenge is back with a great new challenge to help you get started!  LeAnne has us working on a great sketch this time!  So many possibilities with those rectangle panels!  Can't wait to see what you all create.


 This is the card design that I sent out to my team for their October monthly hello card.  If you're ever interested in learning more about being a demonstrator feel free to reach out to me.  I'd love to answer any questions.

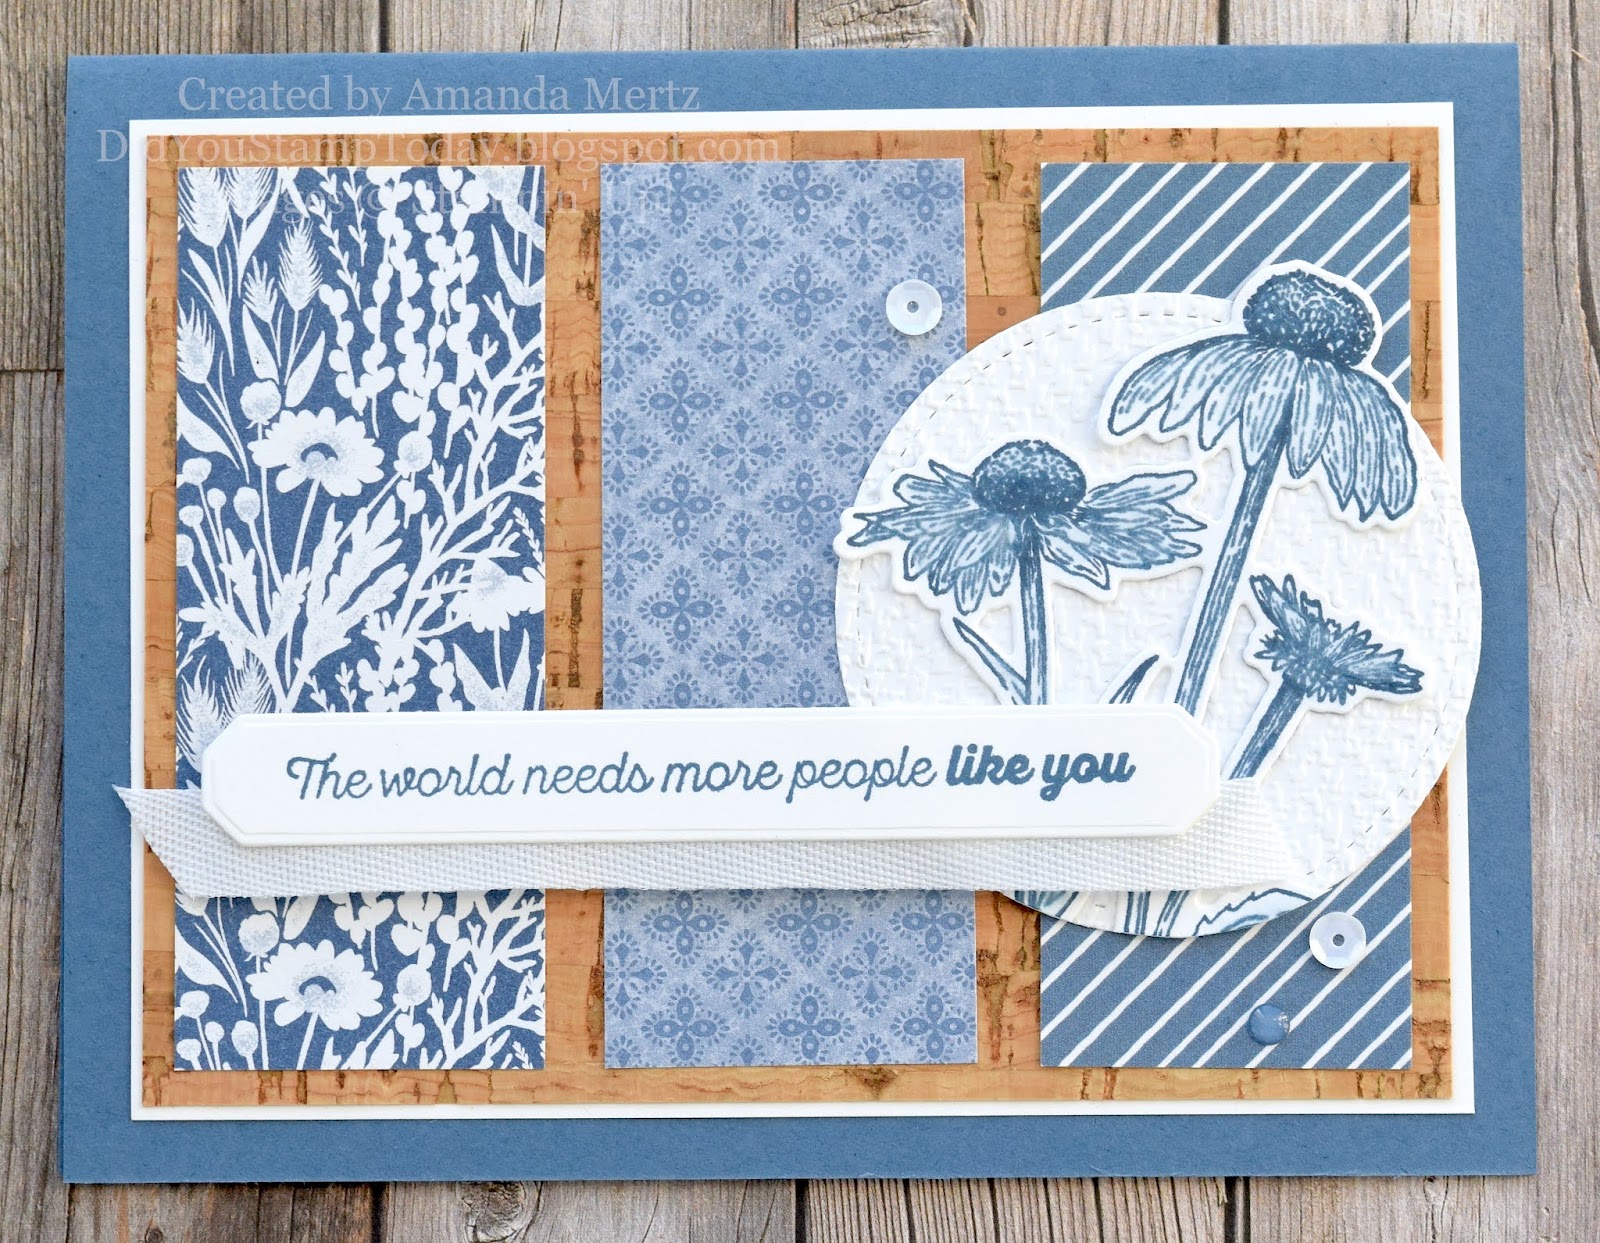
  I went full on Misty Moonlight with just a touch of cork for my card.  I love this color and couldn't resist using 3 different DSP sheets for my card!  The Harvest Meadow DSP has two of the patterns and the third (the stripes) comes from the Sale-A-Bration freebie Penguin Playmates DSP.  I layered the DSP over a piece of Cork Specialty paper and a Basic White layer.

  The stitched circle is embossed with the Tasteful Textile folder and makes for a nice texture for the coneflowers from the Nature's Harvest set.  I stamped them in Misty Moonlight and then used my blender pen to lightly blend some of the ink for a very light color.  I didn't add any extra ink but just pulled it from the stamped image to fill in some of the white spaces. You want to be careful you don't over work the cardstock with the blender pen as the cardstock will start to pill and get muddy looking but it's a great technique for a very subtle color.  Once the flowers were cut out I adhered them to the circle and then the whole thing to the card front.

  The sentiment from the Many Happenings set is stamped in what else; Misty Moonlight! I used the long label from the Harvest dies to cut it out.  I have had this white twill ribbon forever and it's long since retired but I thought it was just right for adding to the underside of the sentiment.  The whole strip is popped on dimensionals.  The final touch is two retired white sequins and a retired enamel dot in Misty Moonlight.  No matter how much I use these retired dots and sequins I always seem to have just as many left!  I think they have babies in the drawer!

  The Paper Players Design Team always knocks these challenges out of the park so head on over and give them some love before playing along!

Jaydee
 LeAnne
Claire
Joanne
Laurie
Anne Marie
Ann
Nancy
Debbie 

   Thanks for looking!  Did you stamp today?

Stamps: Nature's Harvest, Many Happenings

Ink: Misty Moonlight

Paper: Misty Moonlight, Basic White, Cork Specialty, Harvest Meadow DSP, Penguin Playmates DSP (SAB)

Accessories: Stitched Circle die (retired), Harvest dies, dimensionals, blender pen, sequins (retired), enamel dot (retired)