Showing posts with label Blog Hops. Show all posts

Wednesday, July 15, 2026

Summer Fun Birthday W-Fold - Stampin' Up!® Summer Happiness


  Welcome to the New at SU! July blog hop!  We are a group of international Stampin' Up!® demonstrators who gather each month to showcase new projects to help inspire you in your own papercrafting!  This month we are featuring Fun Fold Birthday cards!  To follow the hop all around see the link list at the bottom of my post.

  There are so many fun folds out there it can be hard to choose one but I decided to go with one I had never made before.  The W-fold card is a great one to make when you have a lot of images you want to show off as I did with the Summer Happiness bundle!  All it takes is 3 score lines (besides the card base center fold) and you're in business.


 The front of the card hides the fun of the inside!  I used the Paper Medley DSP for the background and the card base is Basic Beige.  The card base is 4 1/4" x 11" scored at 5 1/2" so the card flips up to open.  I created a belly band to hold the card closed and used the flowers from  the Summer Happiness set to accent the birthday sentiment from the Balloon Festoon set and is embossed in black.  


  When you take off the belly band you get to the fun inside!  On a fun pop up element you get 4 different spots to show off all of your images and more sentiments!


I added another pattern of Paper Medley DSP on the inside.  The pop up element is a 1" x 11" strip of Basic Beige and is scored at 2 3/4", 5 1/2" and 8 1/4".  The strip is adhered to the top and bottom of the card leaving the middle free to fold open and closed.  See I told you it was easy!  Now for the fun of creating the pop up squares!


  I used Basic White for the base of the squares which are 2 1/4".  You could go slightly larger if needed or change the squares to rectangles for a larger area to work with.  The DSP squares are 2"x2" and make a nice background for the fun summer images.  The sentiment on the sunglass panel is from the Football Fan stamp set.  


  It was fun mixing and matching the different images and dies from this bundle.  I kept to the color palette shown in the DSP; Basic Beige, Calypso Coral, petal Pink and Darling Duckling for a cohesive look for each square.  The sentiment here is from Banner Sayings.


  Some of the elements are highlighted with Wink of Stella which doesn't show well on the photos.  I also used dimensionals to pop some of the images up.  The belly band is helpful to keep the card closed and get it in the envelope.  I would definitely add extra postage to this one or send it in a larger envelope!


   I really enjoyed creating this easy fun fold and showing off so much of a single bundle on one card!  I hope you keep this easy fun fold in mind especially when you can't decide which image to focus on!  You don't have to with the W-Fold!


  Thanks for looking!  Did you stamp today?

All of the current supplies used for this card can be purchased in my ONLINE STORE.  

Stamps: Summer Happiness (Online Exclusive), Balloon Festoon, Banner Sayings, Football Fan (Online Exclusive)

Ink: Memento Black, Darling Duckling, Calypso Coral, Mossy Meadow

Blends: Calypso Coral light & dark, Darling Duckling light & dark, Petal Pink light & dark, Mossy Meadow light

Paper: Basic Beige, Basic White, Paper Medley DSP, Calypso Coral, Petal Pink

Accessories: Summer Happiness dies (Online Exclusive), Spotlight on Nature dies, black embossing powder, Wink of Stella, 2026-2028 In Color Dots

Wednesday, June 17, 2026

Two-Toned Inlaid Ferns - Stampin' Up!® Fern & Flora


  The New at SU blog hop is back with another great hop featuring Two-Toned cardstock!  This fantastic group of international Stampin' Up!® demonstrators is ready to inspire you with all kinds of fun projects ideas using this versatile product.  Hop through with us and let us know what you loved!  The blog hop list is at the end of this post!

  I pulled out my favorite new stamp set Fern & Flora and a whole stack of Two-Toned cardstock for this project!  I loved how these saturated colors look for summer cards and the Two-Toned cardstock gives a lot of bang for the buck as you get 2 colors in one sheet with the backside being a lighter version.  Think the "stamped off" version.


   I started with cutting two 5/8" x 4" strips of 5 colors of Two-Toned cardstock; Cajun Craze, Strawberry Slush, Timid Tiger and Daffodil Delight.  I adhered them to a piece of 4" x 5 1/4" Basic White cardstock using one on the darker side and the second on the lighter side and trimmed off any white areas.  Next I layered the Fern & Flora dies across the strips and die cut them out.

  Next I embossed the panel using the Fern & Flora embossing folder. Using some Old Olive Two-Toned cardstock I cut matching ferns one in the darker side and the other 2 in the lighter side.  The ferns were then adhered inside the openings for a nice inlaid look.  I finished off the card with some gold accents and a sentiment label also from the Fern & Flora bundle.


  This easy technique ends up giving you a second card if you use the original die cut ferns from the striped panel.  I added mine to the front of a Basic White card base embossed with the Fern & Flora embossing folder.  A simple sentiment and more gold accents finish off this 2 for 1 card!


  I hope you'll incorporate some Two Toned cardstock in your next project!  See more ideas by following the rest of the hop in the links below!

  Thanks for looking!  Did you stamp today?

All of the current supplies used to make these cards can be purchased in my ONLINE STORE.

Stamps: Fern & Flora

Ink: Old Olive

Paper: Basic White thick, basic White, Two-Toned: Cajun Craze, Strawberry Slush, Timid Tiger, Daffodil Delight, Old Olive

Accessories: Fern & Flora dies, Fern & Flora embossing folder, Adhesive-Backed Metallic Gems, gold thread (retired)


Wednesday, May 20, 2026

So Many Balloons - Stampin' Up!® Balloon Festoon


  The new at SU blog hop team is back for our monthly showcase of projects from demonstrators around the world to inspire your creativity!  This month we are featuring the 2026-2028 In Colors!  As a long time demonstrator, getting new In Colors is always exciting and I can't wait to start using them to see what fun combinations I can come up with.  

  My project today features 3 of the new In Colors; Crisp Cantaloupe, Barely Blush and Hydrangea Hue and I've paired them with a new bundle, Balloon Festoon!


  This was a fun one to put together because I just kept die cutting 2 sizes of balloons in my 3 colors then stamping with the various inks and patterns and adding in some gold embossing until I had the whole background covered in balloons.

  I wanted the sentiment to stand out so I embossed it in gold onto Basic Black cardstock then used the balloon die to cut it out.  The sentiment can be found in another new set Sending Salutations.  It's popped on dimensionals, a die cut string is added, and some embellishments with ribbon and an In Color Dot.

  I hope you'll be inspired by our projects.  To make sure you don't miss a single one follow the links below to see the whole hop!  We love hearing from you so be sure to leave some love for everyone!

  Thanks for looking! Did you stamp today?

All of the products used to make this card can be purchased in my ONLINE STORE.

Stamps: Balloon Festoon, Sending Salutations

Ink: Crisp Cantaloupe, Barely Blush, Hydrangea Hue, Versamark

Paper: Crisp Cantaloupe, Barely Blush, Hydrangea Hue, Basic Black

Accessories: Balloon Festoon dies, dimensionals, gold embossing powder, Crisp Cantaloupe Bordered Ribbon, 2026-2028 In Color Dots

Wednesday, April 15, 2026

Nature's Symphony Mini Album - Stampin' Up!® Nature's Symphony


  The New at SU blog hop is back this month with projects made using Flip Flaps!  We are an international group of Stampin' Up!® demonstrators sharing creative ways to use your supplies.  This month we are showing you fun ways to use Flip Flaps.  The hop list is at the end of my post so check out all the great ideas and leave some comment love!

  I'm not a scrapbooker nor do I tend to make 3D projects very often so when I saw we were to use Flip Flaps this month I just figured I would use one or 2 on a card to make a fun fold or shaker card.  But then I remembered an idea that used the Flip Flaps to make a mini album and thought that would be a fun way to use these photos I had tucked away.  


  I looked through my current papers and decided on the Nature Walk DSP to build my album.  The cover measures 10 1/2" x 6 1/2" - scored at 5 1/4" for the center fold.  The spine which I just used a piece of the same pattern but on the flip side is measured at 1 1/2" x 6 1/2" - scored at 3/4".

  I decorated the front and then started on the inside.

  I created a pocket out of another pattern of Nature Walk DSP to hold the journaling tag.  I embellished the front of the pocket as well.  The pocket measures 3 1/2" x 5" with the 2 short sides and one long side  scored at 1/2" to create the pocket. The journaling tag measures 3 3/4" x 4 1/2".


  Next I decided which photos were going where, added them and more DSP and embellishments to the Flip Flap pockets and peeled off the adhesive and stacked the pockets on top of each other starting from the back and working my way to the front.  I used 4 4"x6" and 2 3"x3" Flip Flaps. 


 I made this quick video showing each page and how the Flip Flaps are used for the photos and journaling.  This was a really fun project and a nice step outside my normal comfort zone.  This mini album comes together really quickly and is very simple to customize to whatever set of photos you want to use.


  Have fun hopping through with the New at SU! team!

  Thanks for looking!  Did you stamp today?

  All of the current products used to make this card can be be purchased in my ONLINE STORE.

Stamps: Nature's Symphony

Ink: Old Olive, Lost Lagoon, Pretty Peacock, Crumb Cake

Paper: Nature Walk DSP, Crumb Cake, Basic White, Old Olive, Lost Lagoon, Pretty Peacock

Accessories: Nature's Symphony dies, Secret Sea Bordered Ribbon, Crumb Cake baker's twine, Faux Bronze Pentagons


Wednesday, March 18, 2026

Cutest Birds Hello - Stampin' Up!® Cutest Crew


Today the New at SU! blog hop team is back with a brand new round of projects showing off products from the recently released Stampin' Up!® March Online Exclusives.  We've got stampers from around the world showcasing these new products and showing you all the fun ways you can use them in your own crafting.  Be sure to hop around to see everyone's project and leave a little love for all the creativity!  The hop list is at the bottom of my post!

  My projects use the Cutest Crew bundle which I fell in love with as soon as I saw it in the preorder.  And I must not be the only one to love it because it went out of stock several times just in the demonstrator preorder!  I have a card and a little treat item using this fun bundle!


 Look at how cute these little bird die cuts are!!  This is a super simple card to put together and a great way to use up bits of scrap cardstock!  I'm using a Misty Moonlight card base and then a wide panel of Basic White embossed with the Beautiful Pattern embossing folder.  
 
  I die cut the birds out of a variety of cardstock colors (you'll see why with the second project!) and I used Adhesive Sheets with the cardstock so that each bird is a little sticker to make it mess free for adhering.  I just lined them up in rows then added the stamped sentiment below accented with a few gems.


  Now why did I have so many of these little birds?  This is why!  I made little mini wrapped Hershey chocolate bars to bring to Stampin' Up!® OnStage in Long Beach, CA last week.  I like to be able to exchange info with other stampers and they are a bit more fun than a business card!  

  I used the February Product of the Month, Painted Illusions DSP (which is still available) and pulled my bird colors from that and just made easy little sweet treat "business cards".  I handed these out to new stamping friends I met the whole time in Long Beach as well as hotel and airport staff.  All the leftover birds went onto the card.

  And I have to tell you that I'm lucky I made this card before leaving for CA last week because I had planned to do a card with each of the animals for this hop when I got home but as the travel gods would have it that was not to be because my connecting flight through Dallas back to Richmond on Sunday evening was cancelled and I didn't make it back home until Tuesday so I would have been hard pressed to get any project done at all!  

  Thanks for looking!  Did you stamp today?

All of the current supplies used for these projects is available in my ONLINE STORE.

Stamps: Cutest Crew (Online Exclusive)

Ink: Misty Moonlight (card), Pretty Peacock (candy label)

Paper: Misty Moonlight, Lost Lagoon, Petal Pink, Pretty Peacock, Flirty Flamingo, Darling Duckling, Granny Apple Green, Basic White, Painted Illusions DSP (Feb. POM)

Accessories: Cutest Crew dies (Online Exclusive), Beautiful Pattern embossing folder, adhesive sheets, faceted gems (retired)


Wednesday, January 21, 2026

Beautiful Wedding - Stampin' Up!® Simply Beautiful


   The New at SU! blog hop team is back this month with a really fun (and timely) theme!  We are focusing on Handcrafted Hearts, in other words, Love!  We are creating projects for Valentine's Day, Love, Wedding, Engagement etc. We hope you hop around with us to see the wonderful inspiration from around the world and get inspired to create your own project!  You can find the hop list at the end of my post!

  At first I was going to do the easy and more pressing project and focus on Valentine's Day but then I realized I don't have a single card that I could use for an engagement congratulations or a wedding card!  I guess where I am in my stage of life I don't have much need for them but I like to keep a well stocked selection of cards so off I went!  The Simply Beautiful bundle has perfect sentiments and the coordinating Lovely & Beautiful DSP just has "spring wedding" written all over it!


  A simple layout with the gorgeous DSP and a layered Fresh Freesia blossom is perfect for an engagement card!


  The gold accents on the paper as well as the gold sequins really makes for an elegant look.


  I created a second card with similar supplies but used Basic White and Calypso Coral ink to make the large layered flower for this wedding card.


  The layers of the flower are popped on dimensionals make for a really full look.

  I hope these cards have given you some inspiration to start thinking about your own project with a "Handcrafted Hearts" theme!  Hop around with us to see more inspiration!

  Thanks for looking! Did you stamp today?

All of the supplies used to make these project can be purchased in my ONLINE STORE.

Stamps: Simply Beautiful

Ink: Basic Gray, Calypso Coral

Paper: Basic White, Fresh Freesia Two-Toned Cardstock, Old Olive Two-Toned cardstock, Darling Duckling, Peach Pie, Old Olive, Lovely & Beautiful DSP

Accessories: Simply Beautiful dies, dimensionals, gold sequins, Pearlized Faceted Circles

Wednesday, December 17, 2025

Beary Sweet Celebration - Stampin' Up!® Valentine Kisses


  The New at SU blog hop is back with another round of fantastic projects to inspire your own creativity!  We're a group of Stampin' Up!® demonstrators from around the work and we love to share with you.  This time we are sharing new(er) Stampin' Up!® products using the same card sketch.  It's amazing to see all the different ideas with the same layout!

  This is what we're working with:


  I'm showcasing the Valentine Kisses bundle this month.  You can find this bundle in the Online Store in the Online Exclusives section.  While it's Valentine's Day themed I made more of a general celebration card which could be used for a birthday or other special occasion day.


  I used some of the pretty DSP from the 12 Days of Advent Crafting Calendar for my color palette starting with a Misty Moonlight card base.  The bear is stamped and colored with Stampin' Blends markers and the fun part of this die is that it cut slits above and below the bears arms so you can tuck various things in his arms.  I went with the bouquet to coordinate with the DSP.

  The bear is popped on dimensionals on a Perennial Postage die cut and a piece of Misty Moonlight.  For the 2 smaller panels on either side I flagged the ends for interest and used the tiny heart stamp on the Pretty in Pink on and then used another piece of the Advent Calendar DSP for the other in an Old Olive leaf pattern.

  The sentiment is stamped and added to the center, a die cut heart with a gem and a baker's twine bow are added for more detail.  

  Scroll down to hop through the New at SU! team and see how they used this sketch!  

  Thanks for looking!  Did you stamp today?

All of the current supplies used to make this card can be purchased in my ONLINE STORE.

Stamps: Valentine Kisses (Online Exclusive)

Ink: Memento Black, Pretty in Pink

Blends: Pecan Pie light & dark, Pretty in Pink light, Old Olive light, Daffodil Delight dark, Misty Moonlight light

Paper: Misty Moonlight, Basic White, Old Olive, Pretty in Pink, 12 Days of Crafting Advent Calendar DSP

Accessories: Valentine Kisses dies (Online Exclusive), Perennial Postage dies, dimensionals, Strawberry Slush & Pretty in Pink Gems, Flirty Flamingo baker's twine (retired)

Wednesday, October 15, 2025

Halloween-ish Treat Pouches - Stampin' Up!® Jolly Delivery Dies


  The fabulous New at SU! blog hop is back today and we're sharing fun "Treat" ideas so you'll see great inspiration for treat packaging/gifting for all different occasions throughout the year.  We are sharing ideas from across the world so be sure to hop all the way around with us and say hi (links at the bottom of this post).

  I used the Jolly Delivery dies to make a fun little treat pouch for my project.  I'm calling this "Halloween-ish" due to the colors and the chocolate packaging but I didn't really have a stamp set that was Halloween so I'm using the Fluffy Squirrel bundle.  This fluffy friend seemed like a cute addition and he is holding a jack-o-lantern after all!  This pouch can work for all occasions; just swap out the colors and stamps to make it unique for your event.


These cute little Ghirardelli Halloween chocolates fit nicely as will the regular Ghirardelli chocolate squares.  I didn't have any Reese's peanut butter cups but I think a regular sized one would fit as well.  


  I stamped and punched out the sentiment for the top flap and used the colors of the chocolate wrappers for the backing of the sentiment.


  The squirrel and pumpkin are stamped and fussy cut and added to the front of the treat pouch with dimensionals.  See the video below to see how to put it together.


  Thanks for looking!  Did you stamp today?

All of the supplies used to make this project can be purchased in my ONLINE STORE.

Stamps: Fluffy Squirrel, Choose Happy

Ink: Memento Black, Basic Gray, Smoky Slate, Pumpkin Pie

Blends: Pumpkin Pie light & dark

Paper: Basic Black, Basic White, Granny Apple Green, Blueberry Bushel

Accessories: Jolly Delivery dies, Timid Tiger Faux Linen Ribbon

Wednesday, September 17, 2025

Christmas Shaker - Stampin' Up!® Ornamental Christmas


   The New at SU! blog hop is back!  This group of demonstrators from around the world is ready to show off all kinds of great ideas using newly released Stampin' Up! products.  This month we're using products from the Sept.-Dec. mini catalog or the September Online Exclusives.  The full hop list is at the end of my post!  Hop around with us and say hi!

  I decided to use the Online Exclusive Modern Christmas Suite Collection which has a gorgeous black, white and gold vibe that I totally went with for my shaker card!  I may have even gone over the top with using the entire suite! You decide!


   I started with a piece of the Modern Christmas Specialty DSP for the background. Each sheet has one side with a gold foil accent and the other side is black and white.  

  The shaker element is created using the Ornamental Christmas dies, Gold Foil, loose gold sequins, Basic Black and Basic White cardstocks, window sheets and foam adhesive strips. 


 I added one of the large gold hoops around the ornament as well as some white and gold bakers twine to make the hanging loop.  So much gold!

  The sentiment from the Ornamental Christmas stamp set is embossed in gold then punched out and is added to the side of the shaker element.  A few die cut gold foil stars are the last detail.

  If you're into the bold, statement kind of Christmas card then the Modern Christmas Suite is for you!  Don't forget to check out the rest of the hop for more inspiration!

  Thanks for looking!  Did you stamp today?

All of the supplies used to make this card can be purchased in my ONLINE STORE.  

Stamps: Ornamental Christmas (Online Exclusive)

Ink: Versamark

Paper: Modern Christmas Specialty DSP (Online Exclusive), Basic Black, Basic White, Gold Foil

Accessories: Ornamental Christmas dies (Online Exclusive), window sheets, Loose Gold Sequins, Foam adhesive strips, White & Gold baker's twine (Online Exclusive), large gold hoops (Online Exclusive), gold embossing powder, circle punch


Wednesday, August 20, 2025

A Little Banner Christmas - Stampin' Up!® A Little Cheer


  Welcome back to the monthly New at SU! blog hop!  We have Stampin' Up! demonstrators from around the world showcasing fantastic ideas using new(er) products so that when you sit down to paper craft you have a wealth of ideas to try.  This month we are CASEing each other using those new products.  Copying And Sharing Everything is a staple of the stamping world, we get inspiration from everywhere, especially other stampers.  Each of us will show the project we're CASEing with a link back to the original so be sure to check those links out as well as hop around to all of the new projects!

  I'm CASEing our fearless blog hop leader Loni Spendlove (no pressure or anything lol!).  Loni and I met at the March 2025 OnStage demonstrator event when I invited myself to sit down at an open chair at her table one day at lunch.  Fun ensued and now I have a new stamping friend and a fabulous group I get to stamp with each month! 
 
  The project I'm CASEing is Loni's Birthday Cupcake Fun-Fold card: 


  I loved this easier than it looks fun fold with Loni's fab tutorial.  I changed mine up to use different dies and I made it Christmas instead of birthday but you can definitely see where my inspiration came from.  


 I'm using the A Little Cheer bundle which is an Online Exclusive that came out in July along with the Party Banner's dies from the 2025-2026 Annual Catalog.  I cut the banner shape (6th smallest) out of the card base then stamped the snowflakes all over.  I cut 2 more banners; one using the same size from the card front in Petal Pink and the other (just one smaller, 5th smallest) in Basic White.

  After stamping and punching out a variety of shapes and colors I stamped the banner string across the Basic White banner and added my punched shapes adhering them with dimensionals. I set that aside and put together the inside.


 I cut a Calypso Coral band of 5 1/2" x 1 1/2" and scored it at 1 1/2" and then used the 2nd smallest Party Banner die to cut the banner end.  I folded the scored tab and then adhered it under the Basic White insert that I stamped.


Next I sandwiched the 2 larger banners around the Calypso Coral band making sure everything lined up in the opening on the card front.  I added a little white & gold baker's twine bow on the band for the final touch.

  I hope you hop around to see all the great projects using the below links!

  Thanks for looking!  Did you stamp today?

  All of the current products used to create this card can be purchased in my ONLINE STORE.  Items marked with a * will be available starting Sept. 3, 2025.

Stamps: A Little Cheer (Online Exclusive)

Ink: Pool Party, Summer Splash, Mossy Meadow, Petal Pink, Calypso Coral

Paper: Pool Party, Basic White, Petal Pink, Calypso Coral, Gold Glimmer paper (retired)

Accessories: Party Banners Dies, A Little Cheer mini punch pack (Online Exclusive), dimensionals, White & Gold baker's twine*


Wednesday, July 16, 2025

New at SU! - Blooming Phrases Birthday


The New at SU Blog Hop is back this month with some fabulous inspiration for birthdays!  We've got demonstrators from around the world sharing fun, creative projects to get you inspired for your own crafting.

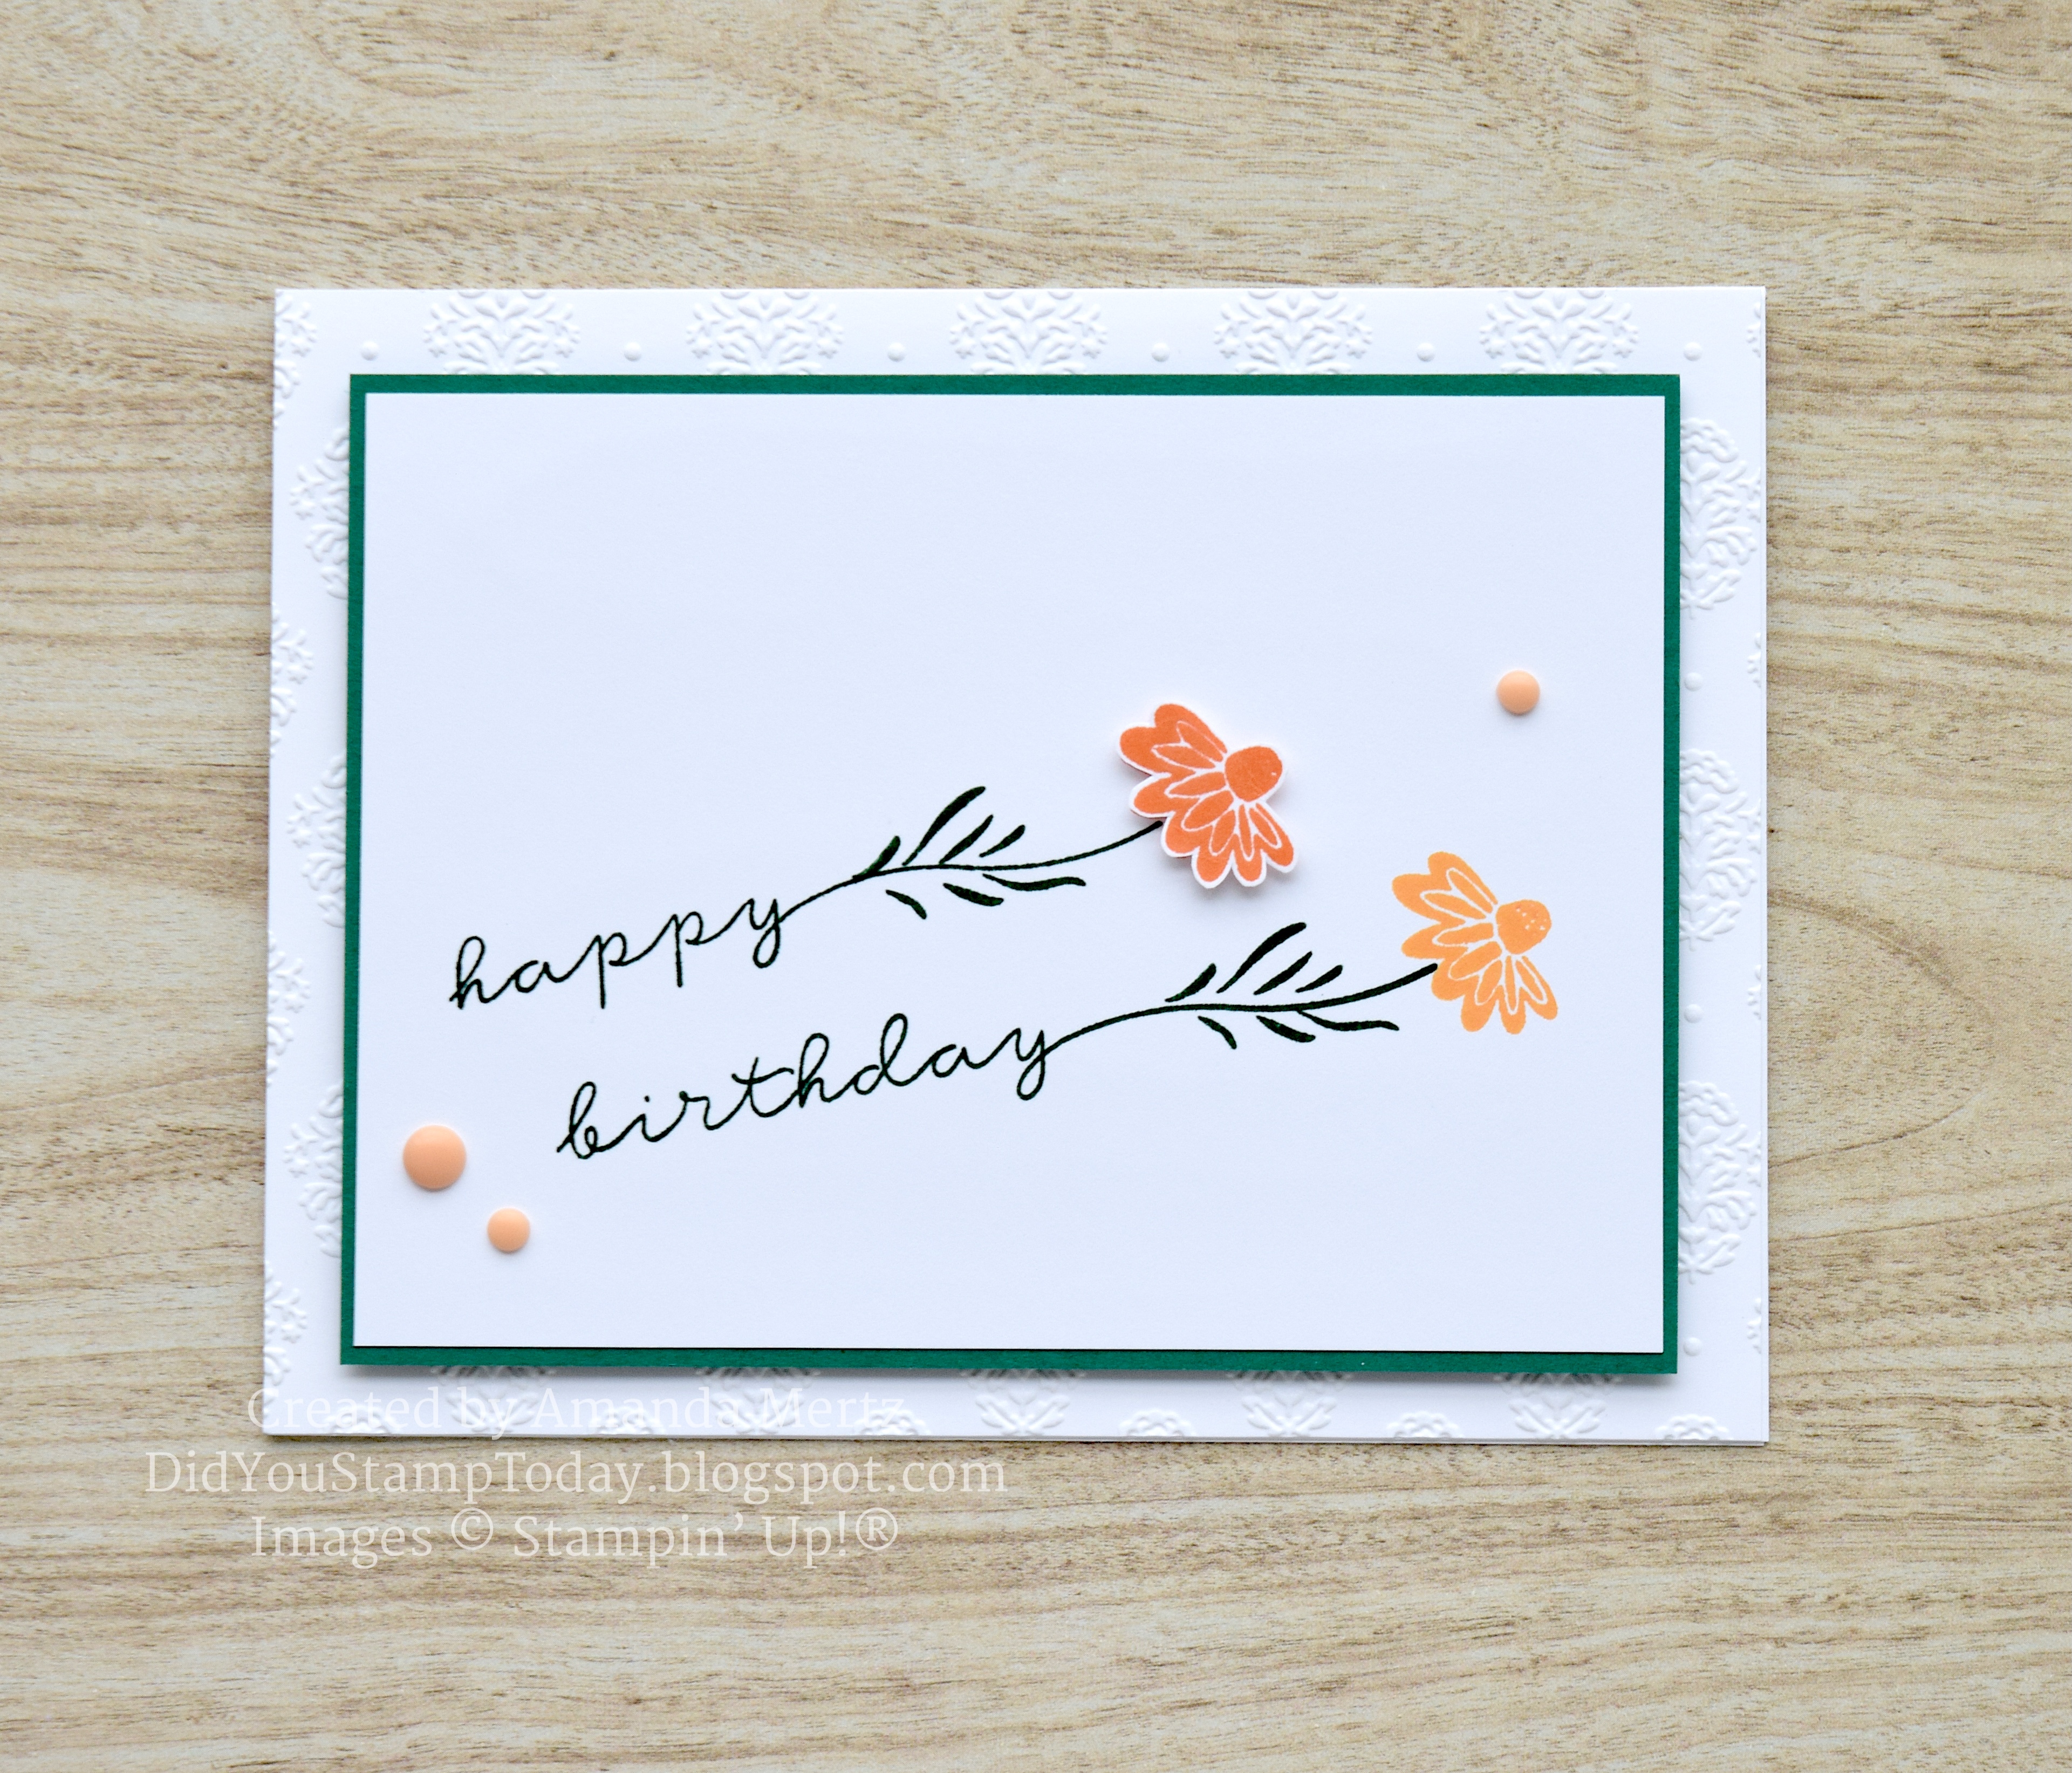
I decided to use the Blooming Phrases stamp set to make a set of birthday card that will get me through the next month of cards that I need to send out.  Using many of the same supplies for each card made this set come together really quickly!


 All of my cards use the Damask Designs embossing folder in the background for a subtle bit of pattern.  The Shaded Spruce works well for the stems and leaves and makes the flower colors just pop!


  I used the same layout for the sentiment on each card and just changed up the flower type and colors. 


  Each card has a color duo that is a "light" and "dark" and helps keeps the design clean and simple.


  One flower on each card is fussy cut and popped up for a little bit more dimension.


  The embellishments are very simple as well with just a few gems in one of the colors added around the sentiment/flowers.


  Take a look at your birthday calendar and plan out what cards you need and grab the Blooming Phrases stamp set to get them made!

  Follow the links below to hop around and see all the lovely projects from the New at SU! group!

  Thanks for looking!  Did you stamp today?

Stamps: Blooming Phrases (Online Exclusive)

Ink: Shaded Spruce, Daffodil Delight, Lemon Lolly, Timid Tiger, Peach Pie, Strawberry Slush, Pretty in Pink, Highland Heather, Fresh Freesia, Versamark

Paper: Basic White, Shaded Spruce

Accessories: Damask Designs embossing folder, dimensionals, white embossing powder, white baker's twine, assorted gems